Did you know that 70% of website visitors abandon their carts, and 54% of shoppers say discounts are the key to completing a purchase?
For WooCommerce store owners, these statistics highlight a critical challenge: reducing abandoned carts and encouraging shoppers to make a purchase.
This is where coupon discount popups can make all the difference. Studies show that pairing popups with exclusive offers can boost email sign-ups by 50% or more, Yet, many store owners still overlook this simple but powerful tool.
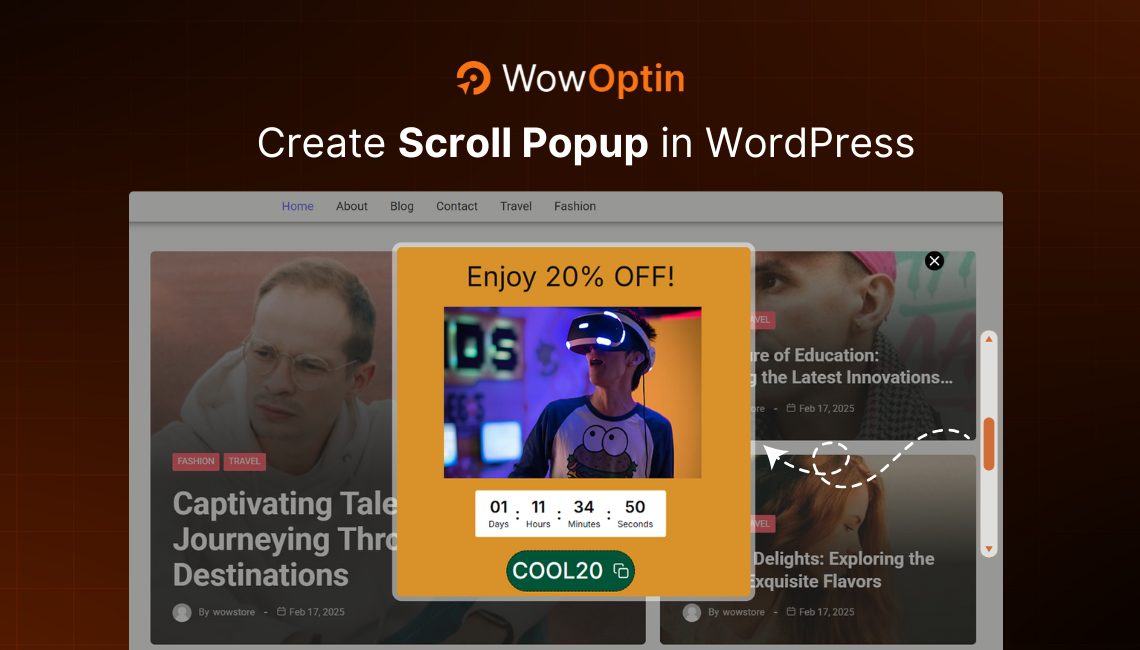
In this guide, I’ll show how you can create a coupon popup in WordPress to tackle cart abandonment, boost sales, and grow your email list.
Why Coupon Popups are Important in WordPress
Coupon discount popups are like your store’s secret weapon. It’s simple to set up but packed with the potential to drive results. Here’s why they matter:
Everyone loves a deal: Coupons create excitement and popups grabs attention. So, together they encourage shoppers to take immediate action.
Instant Rewards: Offering a coupon discount creates an instant incentive for visitors to make a purchase. It doesn’t matter whether it’s a percentage off or a fixed amount
Email List Growth: Using coupon popups to offer discounts in exchange for email signups is a win-win. You get a potential customer’s contact details, and they get a reward for their trouble.
Reduce cart abandonment: A well-timed coupon can convince hesitant shoppers to check out.
Upsell opportunities: Coupons can be used to promote higher-value products or bundles.
How to Set Up Coupons in WordPress
As we’re about to create a coupon discount popup, there’s one thing we need to take care of first: setting up the coupon itself. Right? Don’t worry, it’s pretty simple to do. Here’s how:
- Go to your WooCommerce dashboard and navigate to Marketing > Coupons.
- Click on Add Coupon to create a new one.
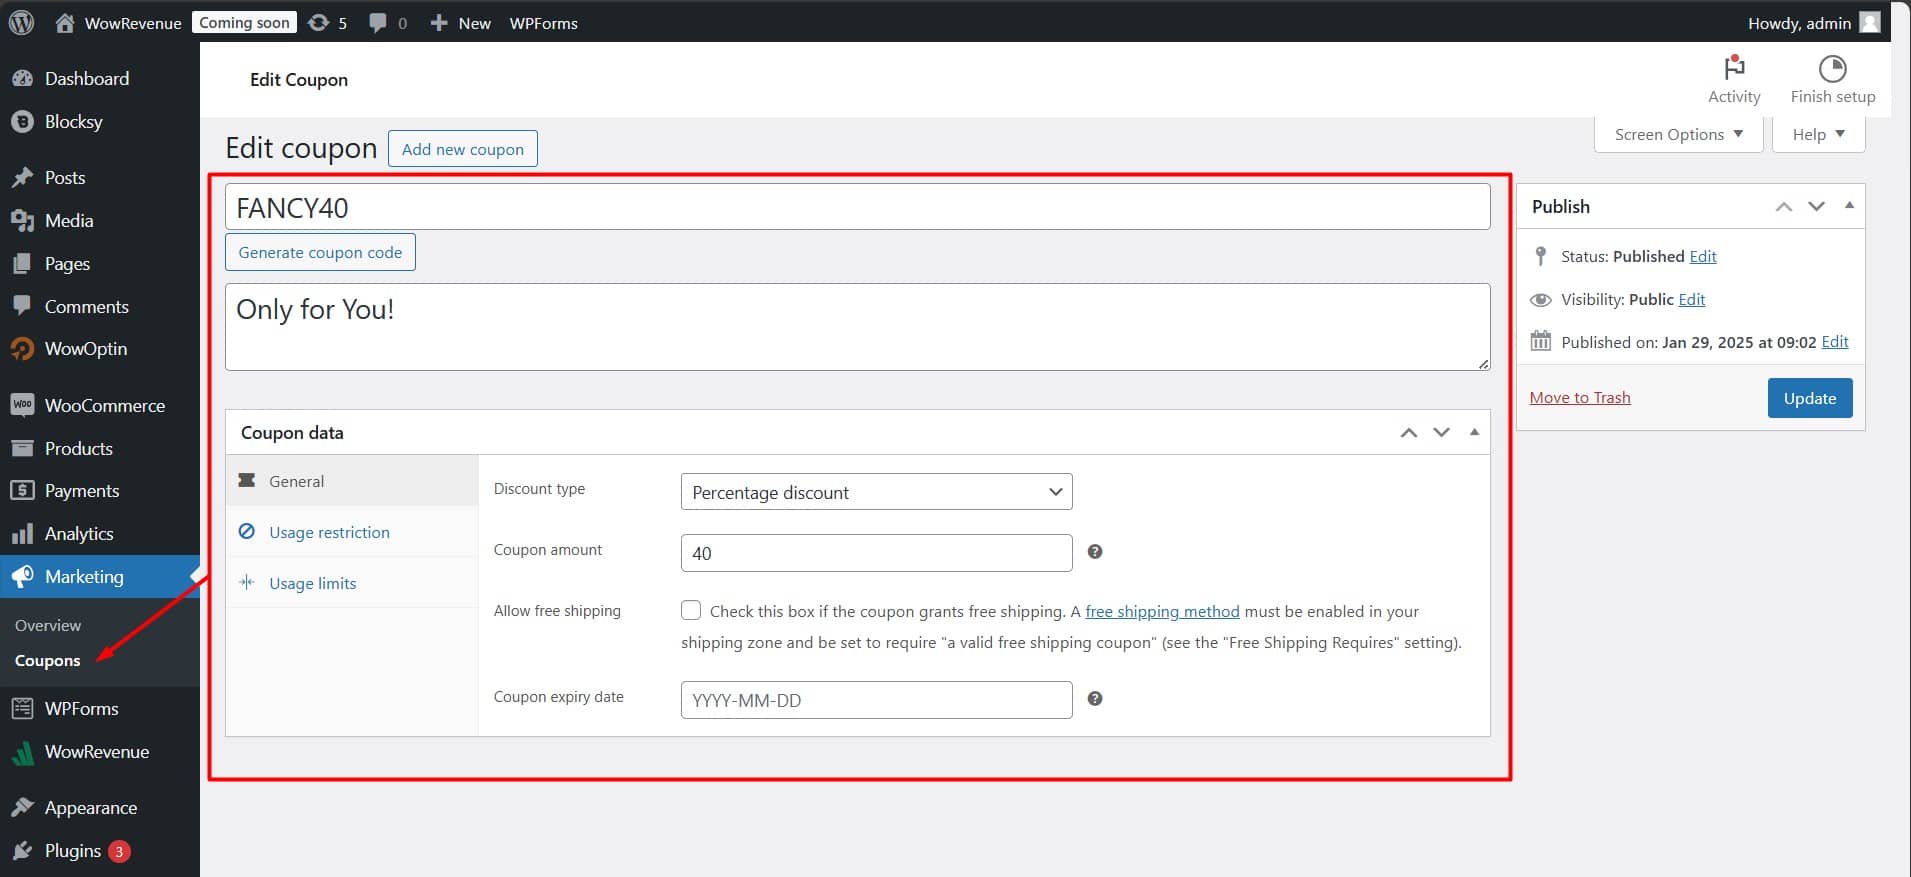
- Fill in the details like Coupon Code, Description, and Discount Type (e.g., percentage or fixed amount).
- Set the Coupon Amount, Expiry Date (if needed), and any usage restrictions.
- Publish your coupon, and it’s ready to use!
Now that your coupon is all set, we can move on to creating the perfect popup to showcase it. Let’s get started!
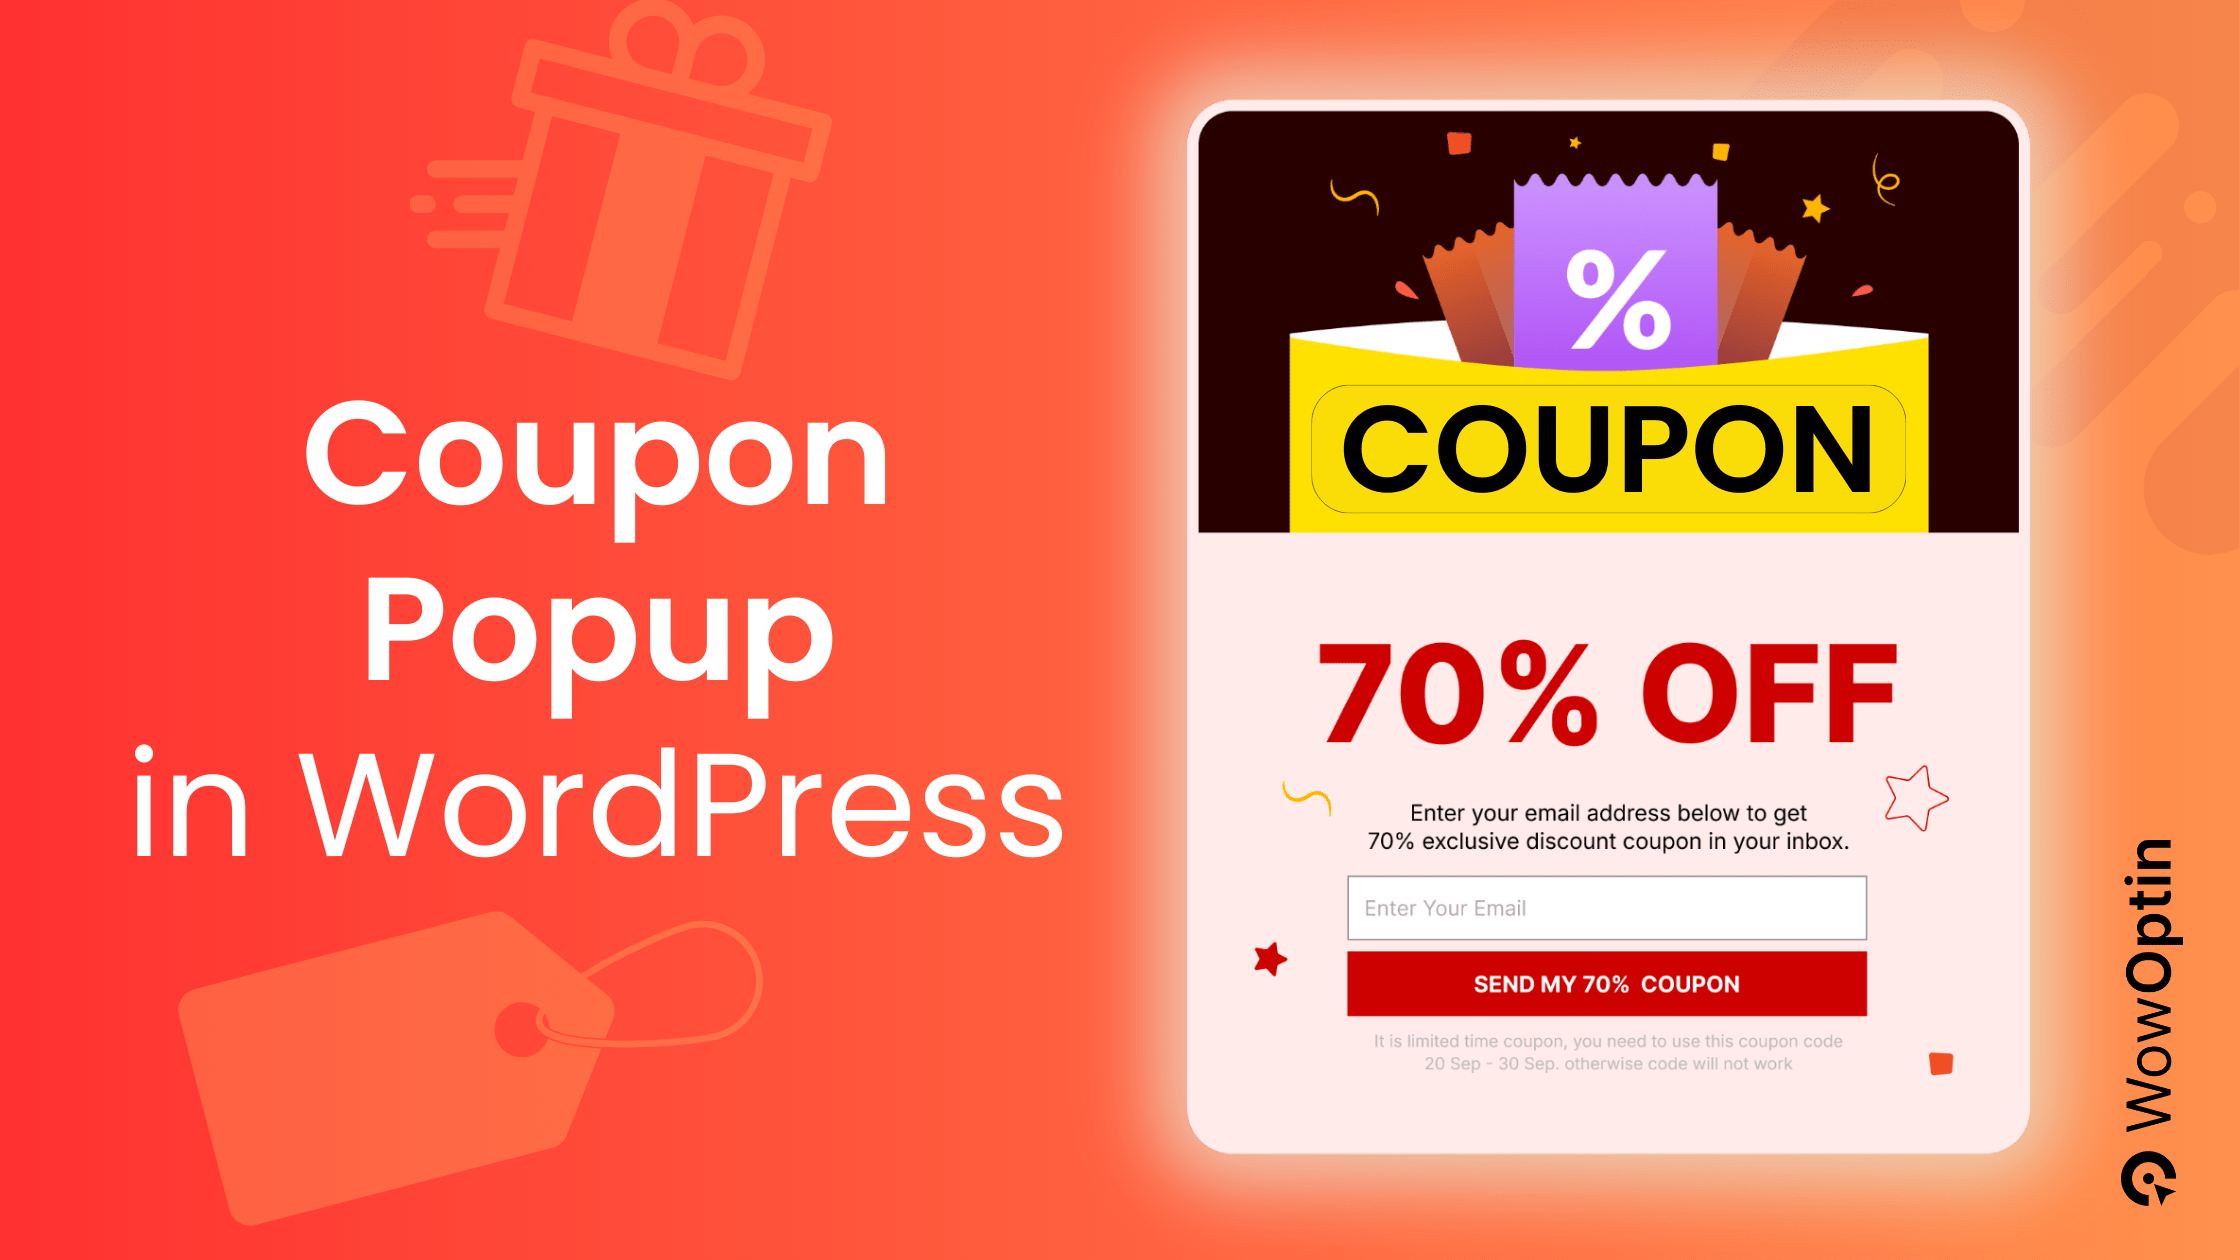
How to Create a Coupon Popup in WordPress
Setting up coupon discount popups on your WooCommerce store doesn’t need to be complicated. Here’s a step-by-step guide to help you get started:
Step #0: Install the Ideal Coupon Popup Plugin in WordPress
The first step is to install the ideal plugin. Let’s be real! You want a tool that’s powerful, easy to use, and cost-effective.
That tool is WowOptin. It’s a game-changer for creating stunning and advanced coupon popups for your WordPress site.
With its Canva-like editor, designing your discount popups is as simple as drag-and-drop. There is no Gutenberg dependency or pageview limitations. WowOptin works seamlessly without them! So, why not try it for free? 👇
Follow the Official WowOptin Documentation to install and activate the free version to try it out. Once you’ve installed and activated, you’re ready to start creating your first popup!
Step #1: Create Your First Popup Campaign
Now it’s time to create your coupon discount popup! This is where the fun begins. You get to design a popup that not only looks amazing but also drives conversions and boosts your sales.
- Go to the WowOptin section in your WordPress dashboard.
- Click the “Create New Optin” button at the top.
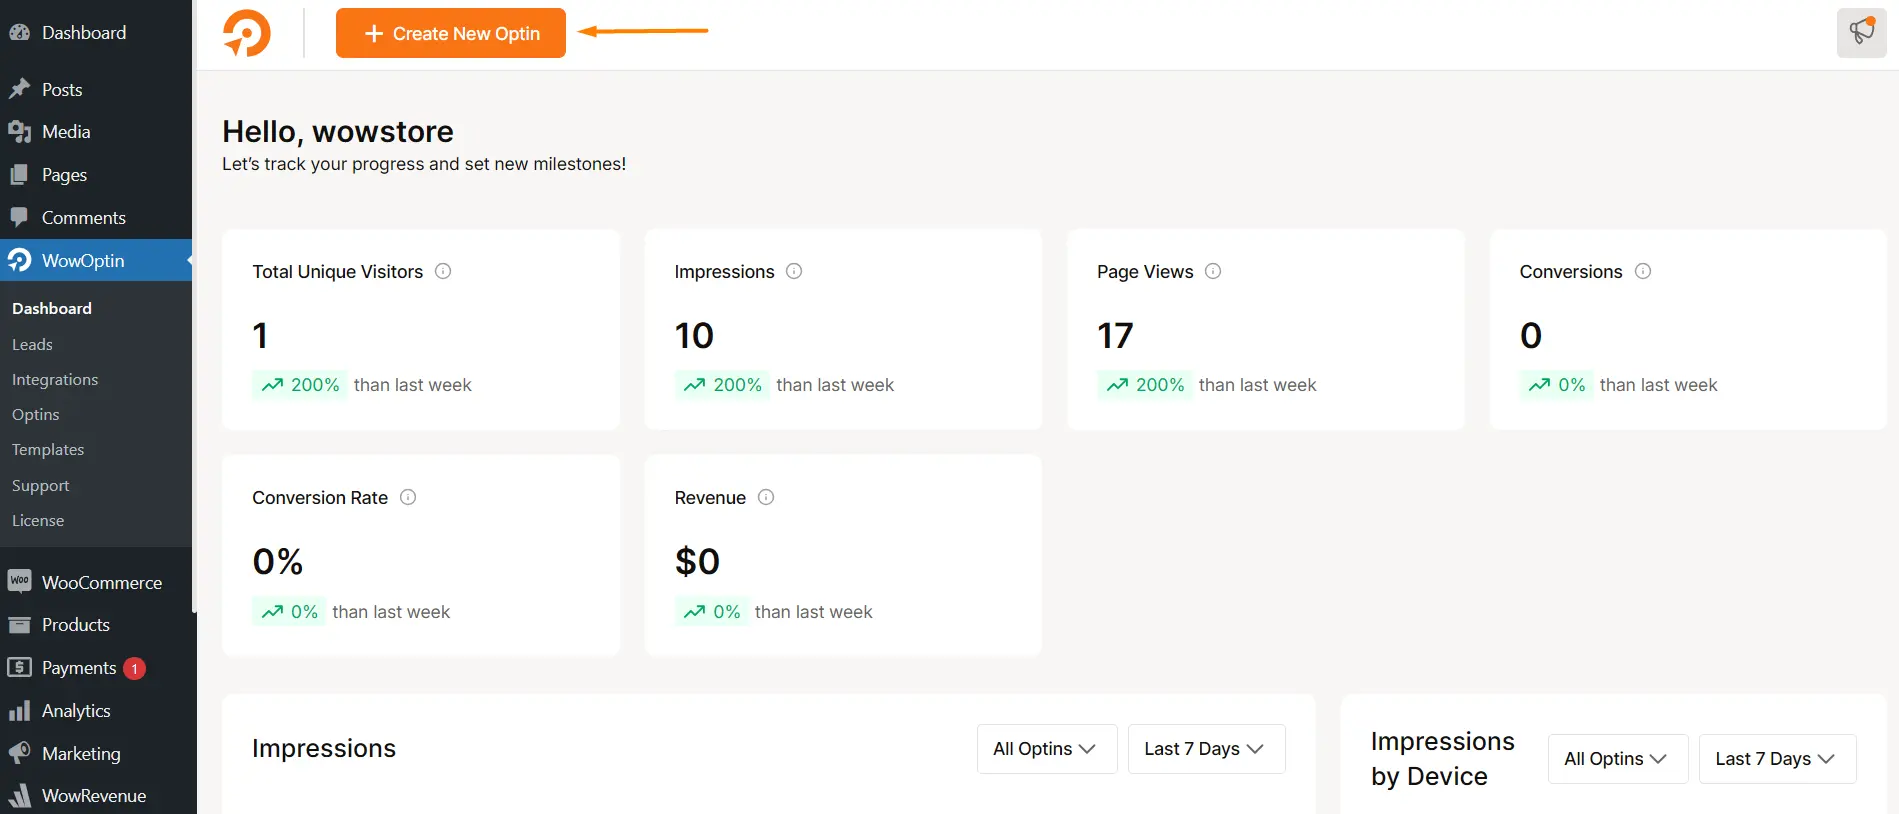
- Choose a pre-designed Popup template or start from scratch.
- If starting from scratch, select the Popup Opt-In Type.
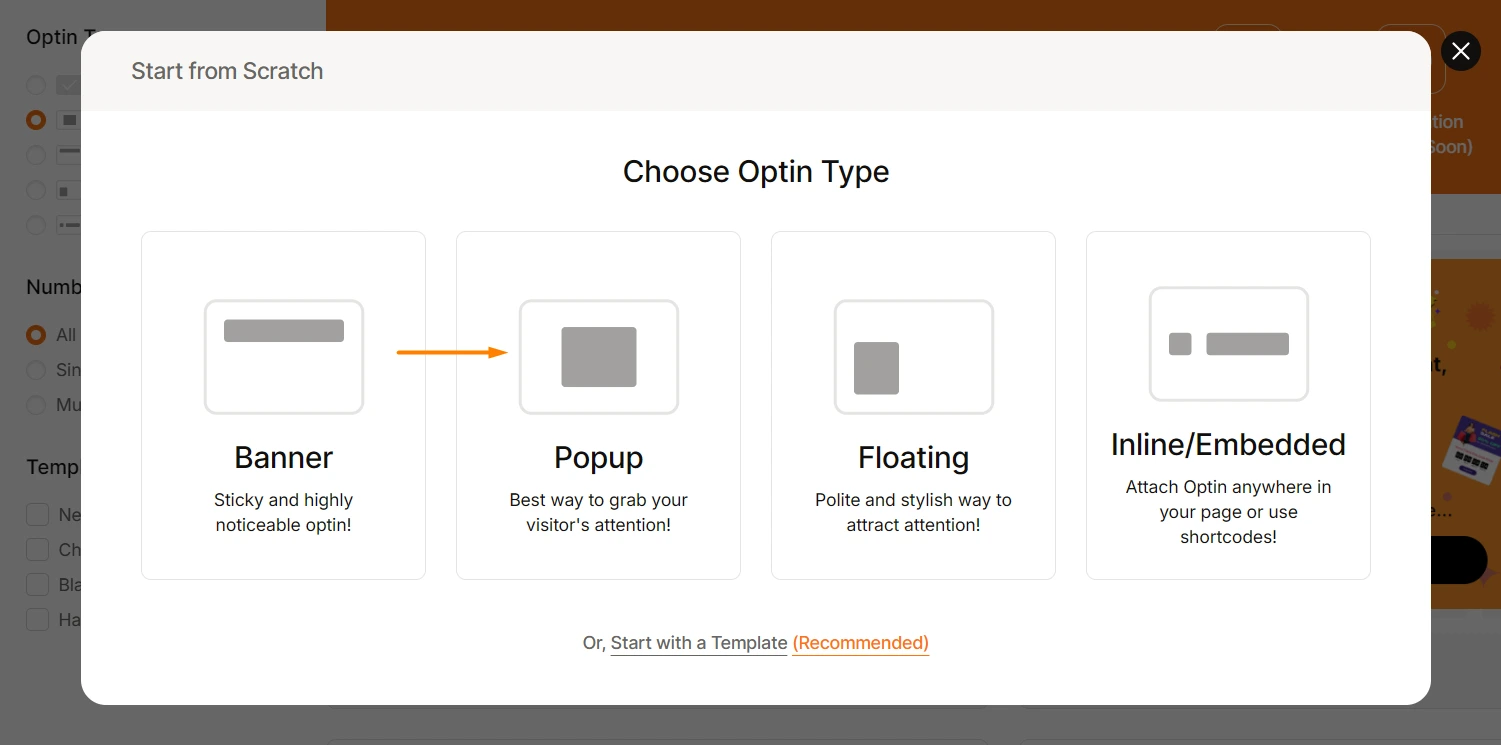
Once you’ve made your selection, you’ll be redirected to the builder page, where you can add elements and design your opt-in form with ease.
Step #2: Decide between Single and Multi-step Popup
Now, this is quite interesting, you can create a single-step or multi-step popup to offer your coupon discount. Each has its unique pros and cons. Let’s take a quick look at the differences.
| Type | Pros | Cons |
|---|---|---|
| Single-Step | Quick and straightforward for users | Less engaging or interactive |
| Higher chance of immediate conversions | Limited space for detailed messaging | |
| Multi-Step | More engaging and interactive | Can feel longer or more complex for users |
| Allows for better storytelling or offers | Risk of users dropping off mid-process |
Alright, let’s talk about single-step popups! When it comes to offering a coupon discount with a single step, you’ve got two options. You can either:
- Capture the lead’s email before giving them the coupon.
- Or, skip the email part and just show the coupon code right on the popup for them to copy and use at checkout.
Both ways have their own vibe, so let’s look at each option!
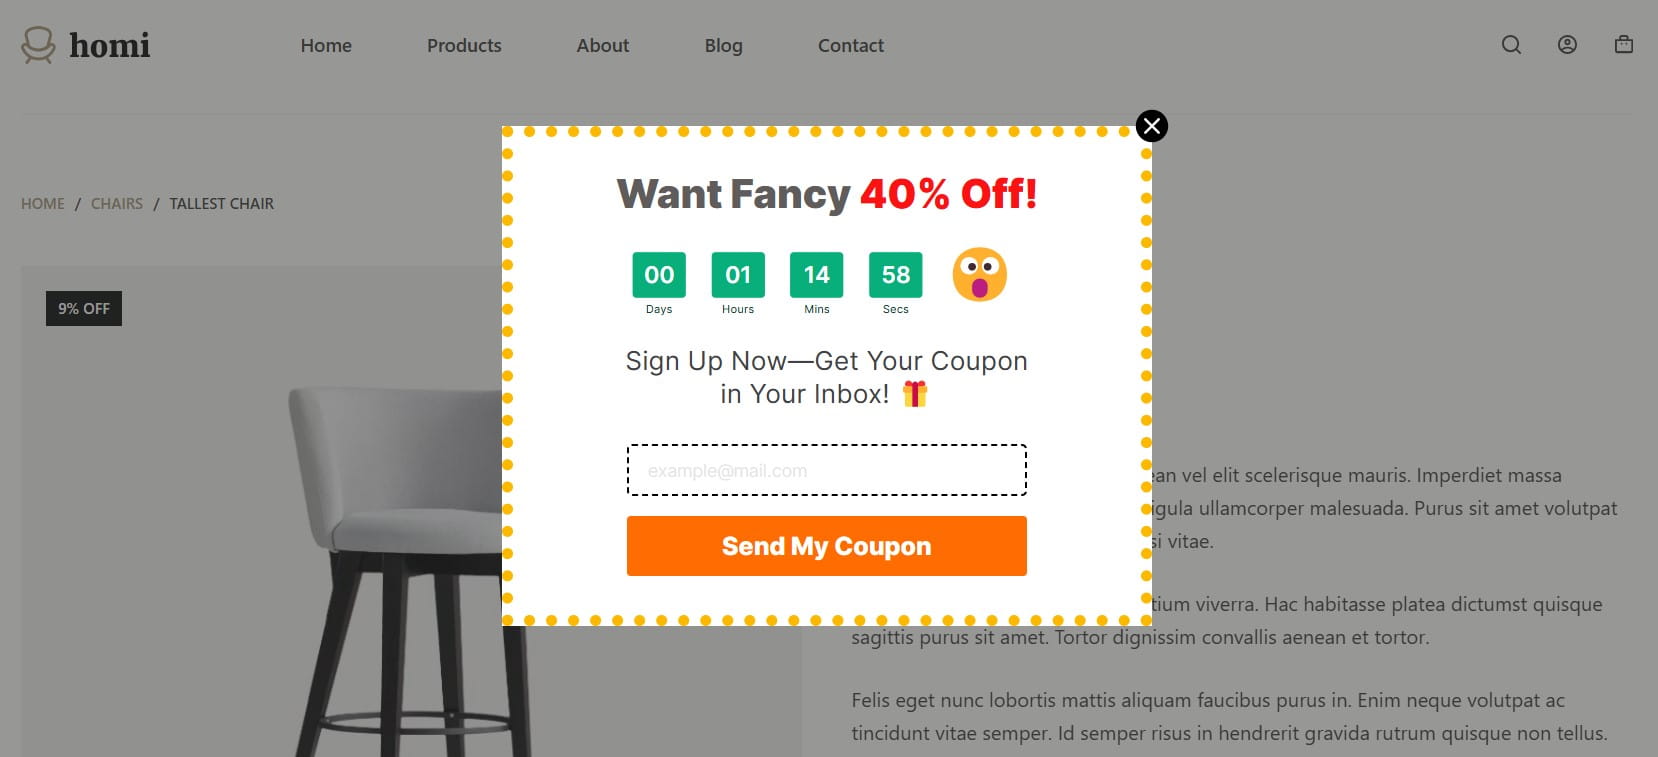
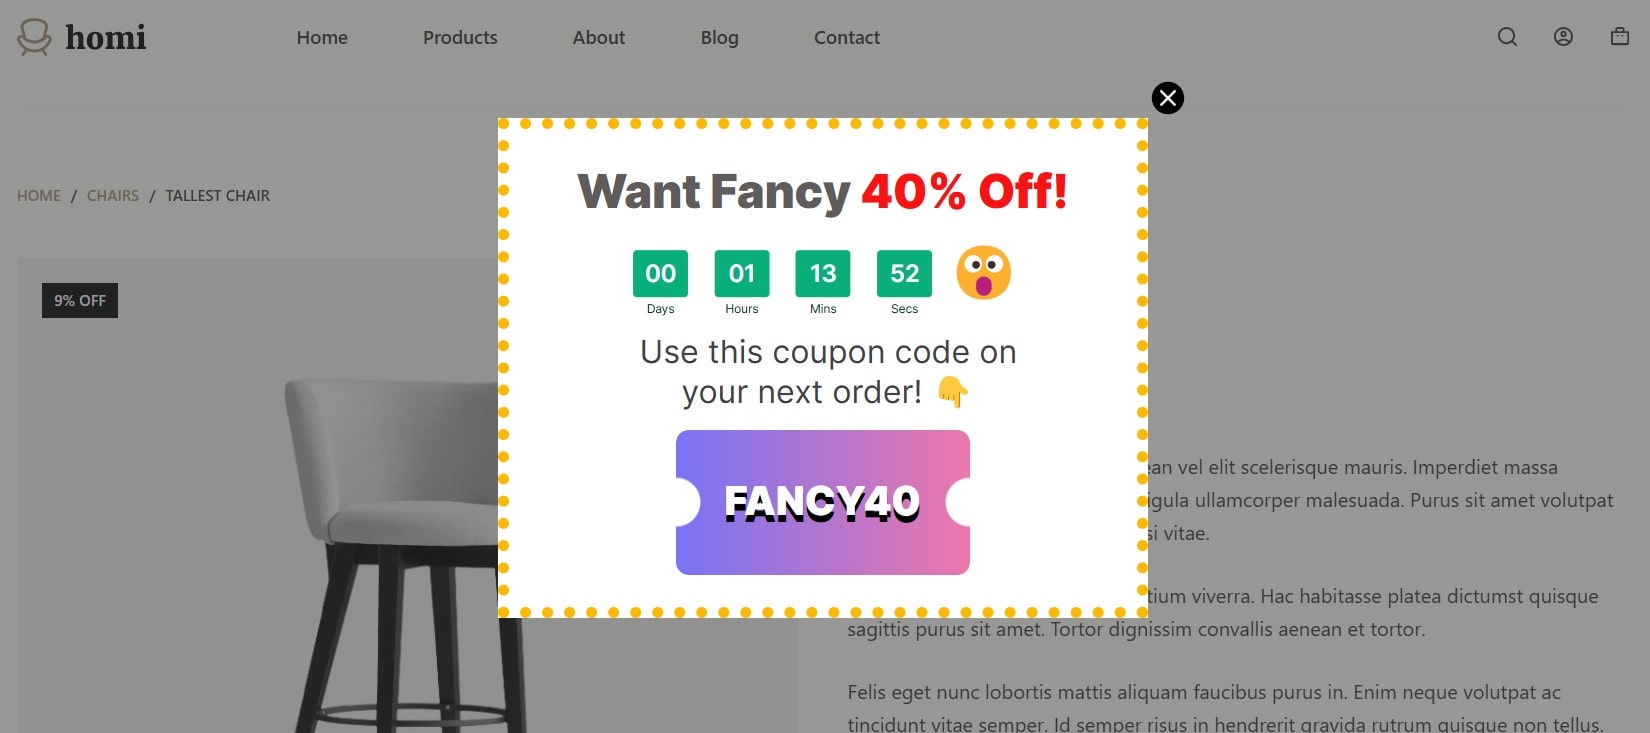
For this guide, I’m going with a multi-step popup. Here’s a preview for you to understand how multi-step popups work:
Step #3: Customize the Layout and Add Essential Elements
Now that we’ve decided on our multi-step coupon discount popup, let’s start with customizing the layout and adding the essential elements.
Thanks to WowOptin’s Canva-like Drag-and-Drop builder! It makes the whole process super easy and fun just like designing in Canva!
First, let’s set up the layout. Here’s how:
- On the left side of the builder, head to the Design section,
- Then click on the Size and Spacing tab.
- Adjust the height and width to fit your design needs.
- Finally, click “Add Step” at the bottom center of the builder.
And voilà! your layout for the 2-step coupon discount popup is ready!
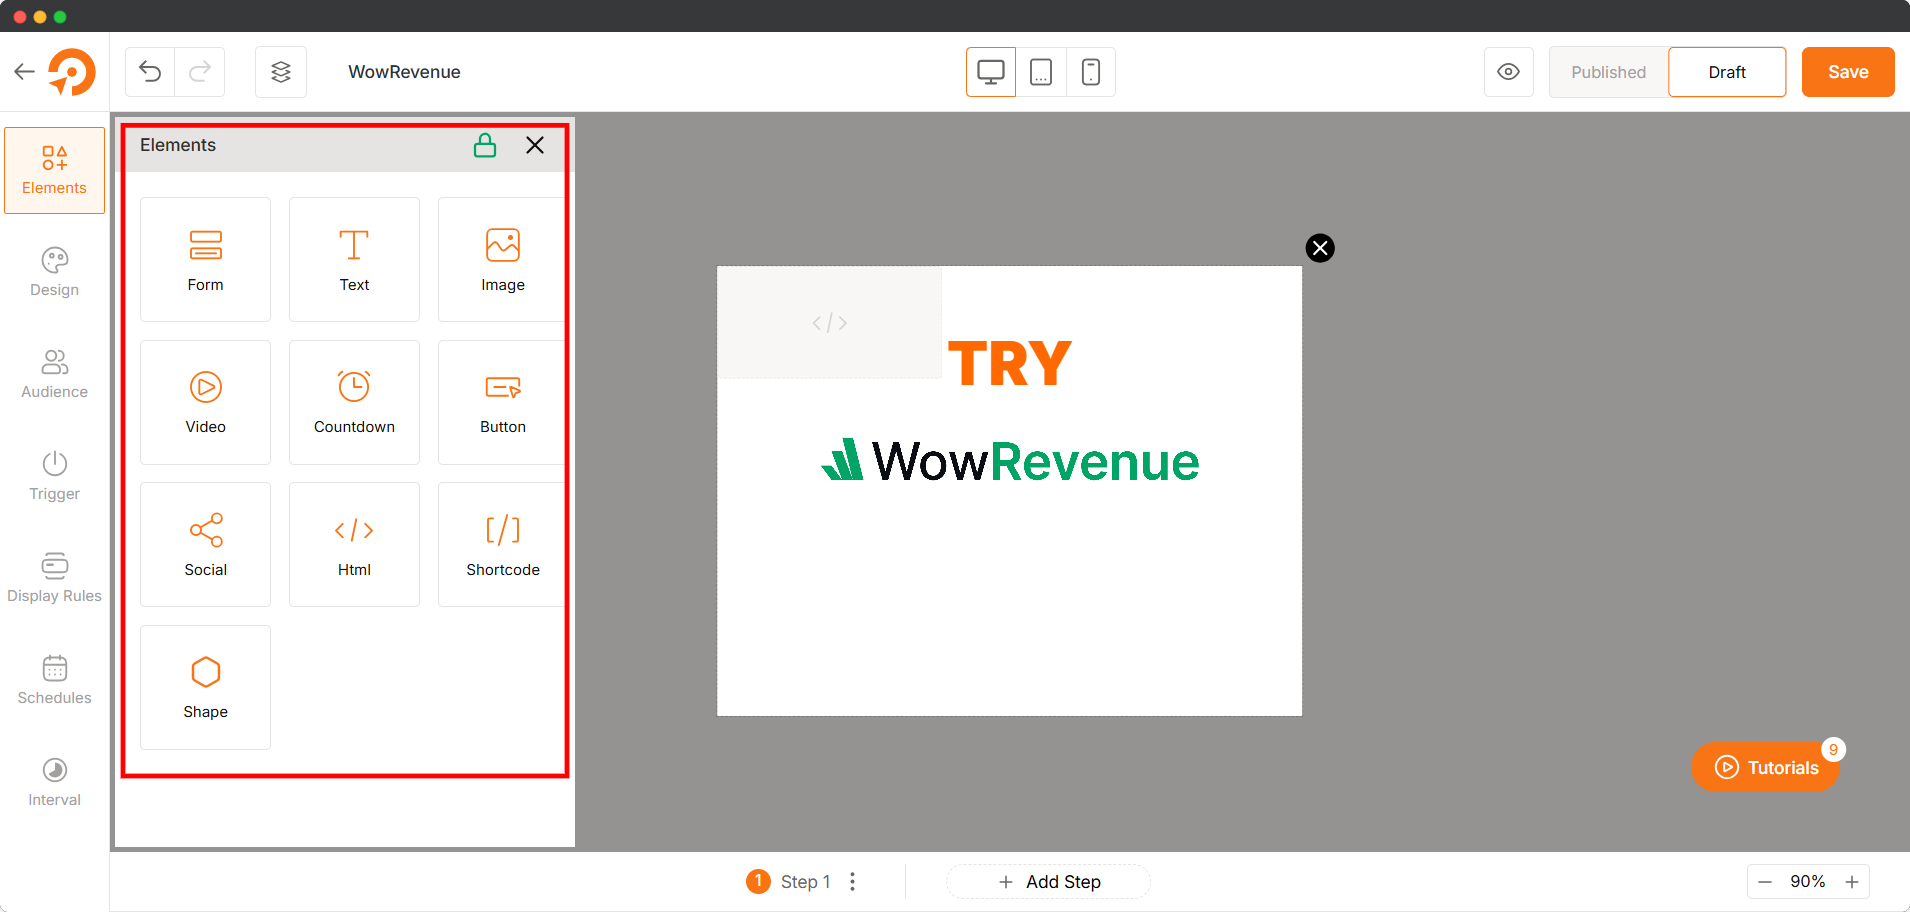
Now, it’s time to drag and drop the key elements onto the canvas. For this popup, we’ll only need Text, Buttons, a Form, and a Countdown. These elements will help you create a clean, engaging, and effective multi-step popup.
As we’ve added everything, let’s jump into the aesthetics part.
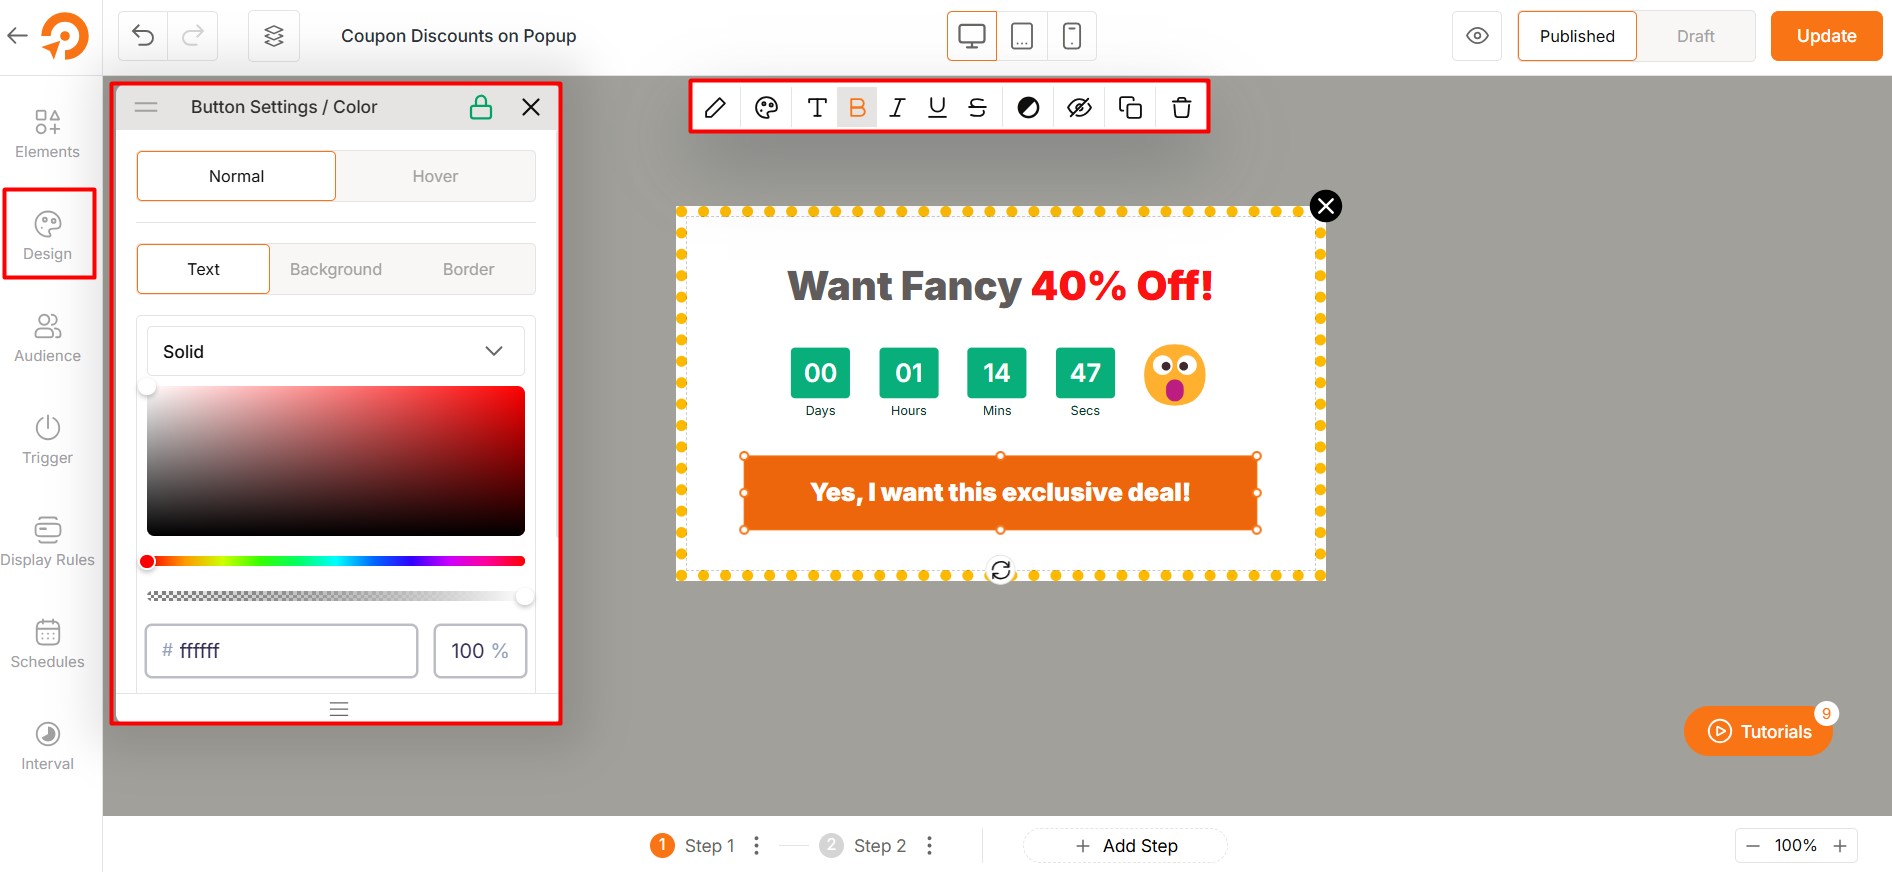
Step #4: Design Your Coupon Discount Popup
This is where the fun begins. You get to design a popup that not only looks amazing but also drives conversions and boosts your sales.
The Design tab in WowOptin gives you three key options to perfect your popup:
- Design: adjust the style with colors, fonts, and visual details,
- Position: set the position of your opt-in on the screen, and
- Close: configure how users can close the opt-in.
With WowOptin’s intuitive builder, you can create professional, high-converting popups in minutes. There is no coding or design skills required! It’s the ultimate tool for hassle-free popup creation.
Step #5: Target the Right Audience for Maximum Impact
This part is all about making your popup strategy actually work. The secret is targeting the right audience. Not every pop-up is going to be clicked by everyone, so personalization and audience selection are super important.
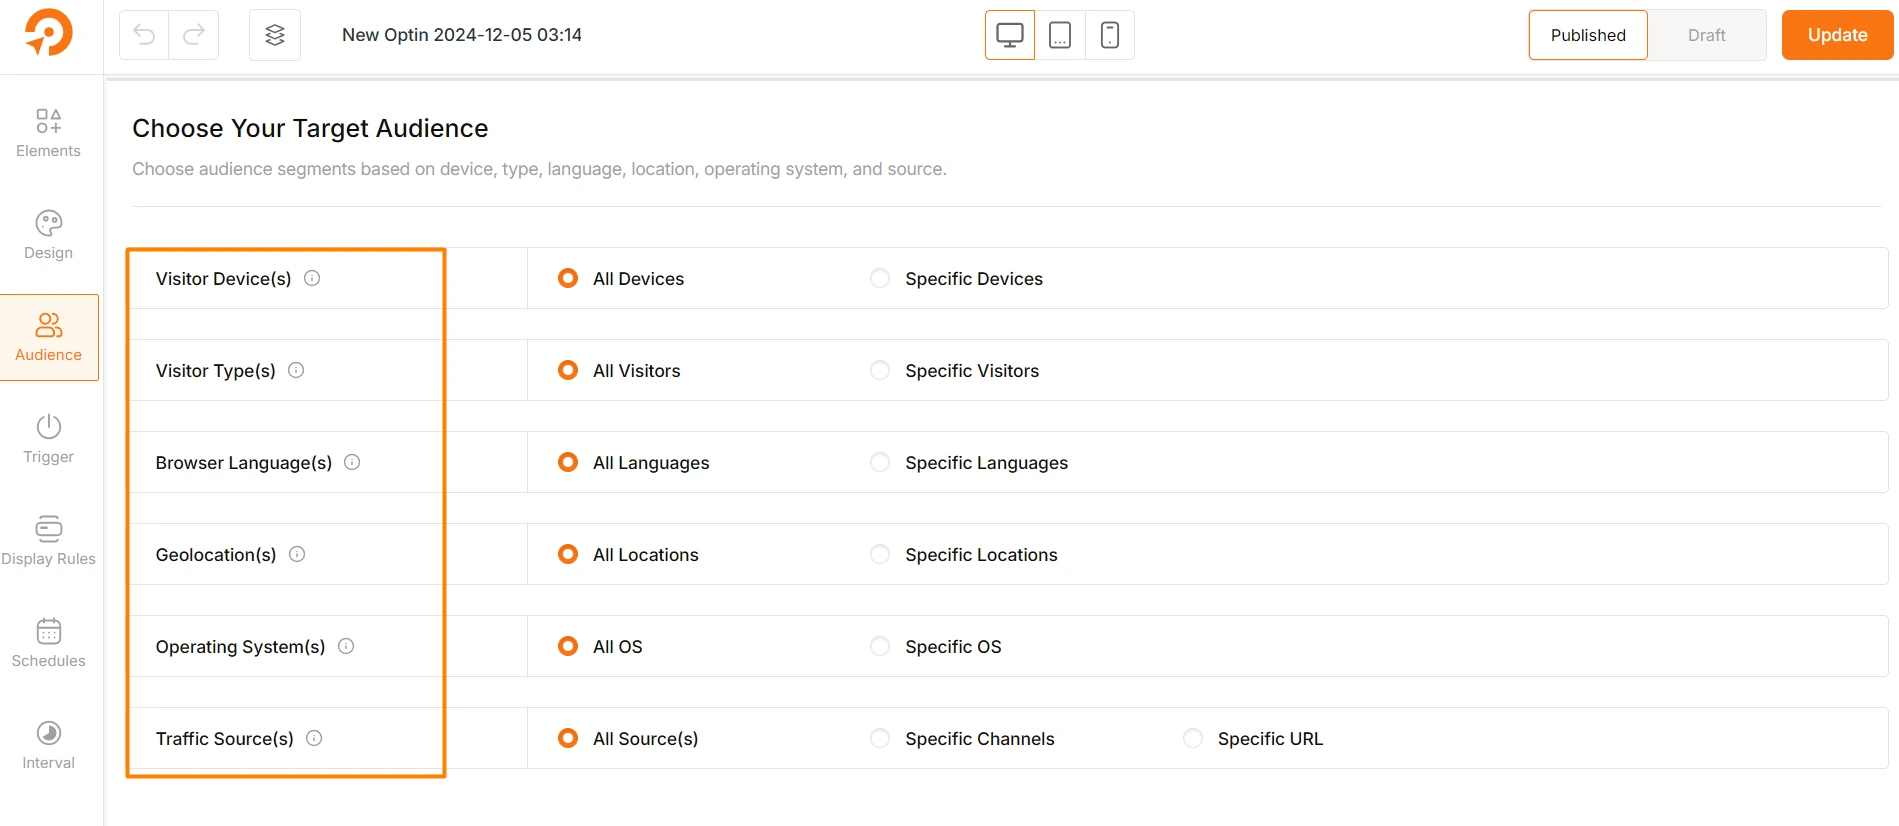
The good news, you’ve all the options to narrow down your coupon discount popup for the targeted audience. Here’s how you can refine your targeting:
- Device: Are they on mobile, desktop, or tablet?
- Visitor Type: Are they new or returning visitors?
- Language: What’s their browser language (e.g., English, Spanish)?
- Location: Where are they based—country, region, or city?
- Operating System: Are they using Windows, iOS, or Android?
- Traffic Source: Did they come from social media, search engines, or a direct link?
By focusing on these details, you can create coupon discount popups that truly connect with the ideal audience and boost conversions.
Step #6: Set When and How to Trigger the Popup
Now that we know who our target audience is, let’s tackle the tricky part: deciding when to show the popup. Timing is super important here. You don’t want to annoy your visitors.
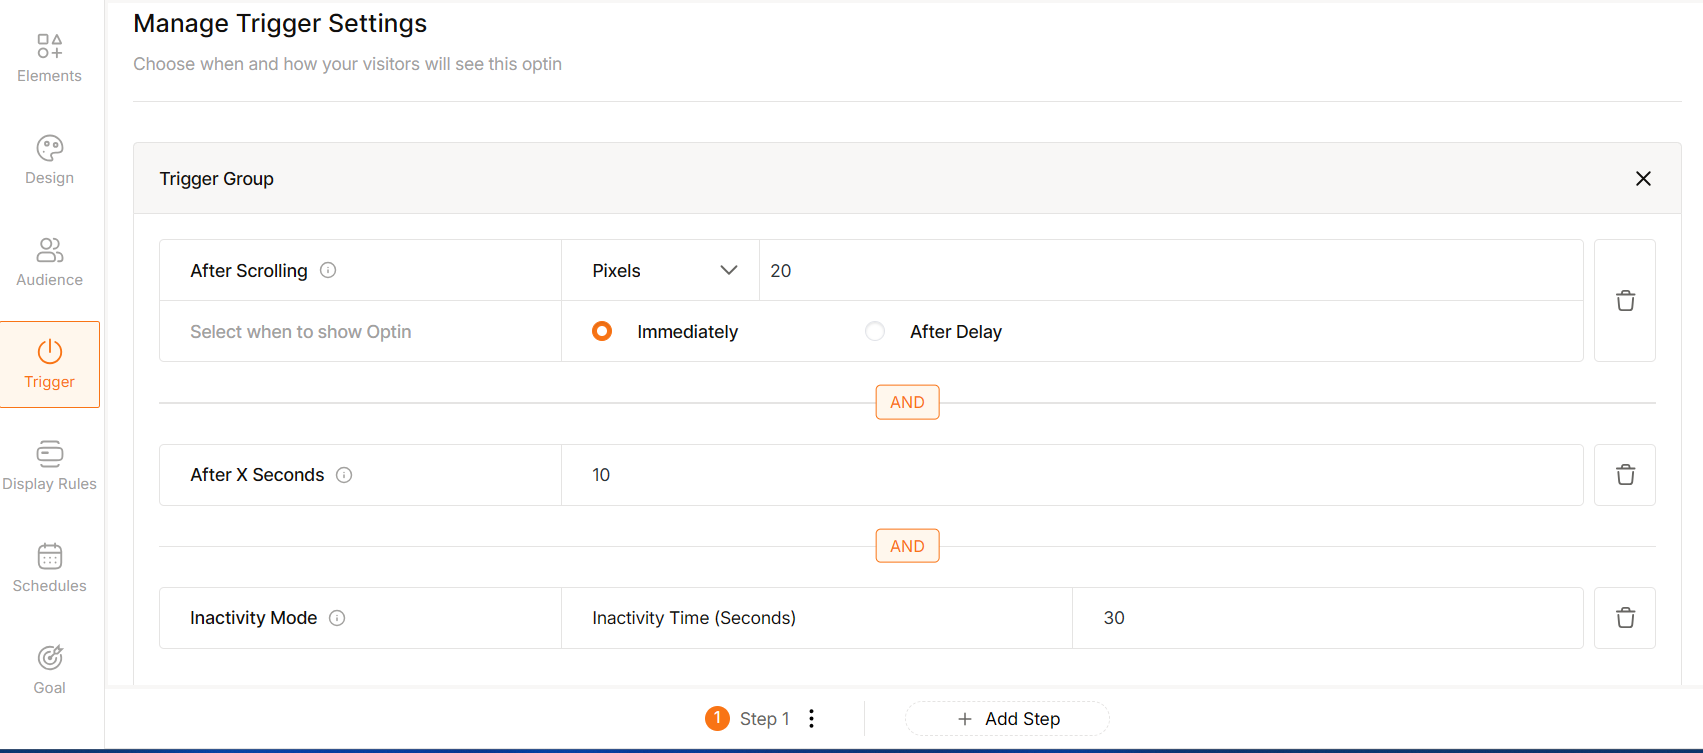
In this “Trigger Section,” you’ll find a few options to choose from:
- After a delay: Pop up after the user has been on your site for a set time.
- On scroll: Trigger the popup after scrolling through a certain part of the page.
- After inactivity: Pop it up if the customer has been idle for a while.
- On exit intent: Show it when the customers are about to leave the page.
- On click: Make it appear when a specific button or link is clicked.
Step #7: Implement Page-Level Targeting
Alright, now for the important part—deciding where to place your popup on your website where it matters most. This is where the “Display Rule Section” comes in.
You’ve got plenty of options to choose from. You can show it across your entire site, just on the homepage, or on specific posts, pages, or even based on the post author. It’s all about picking the right spot that works for your goals.
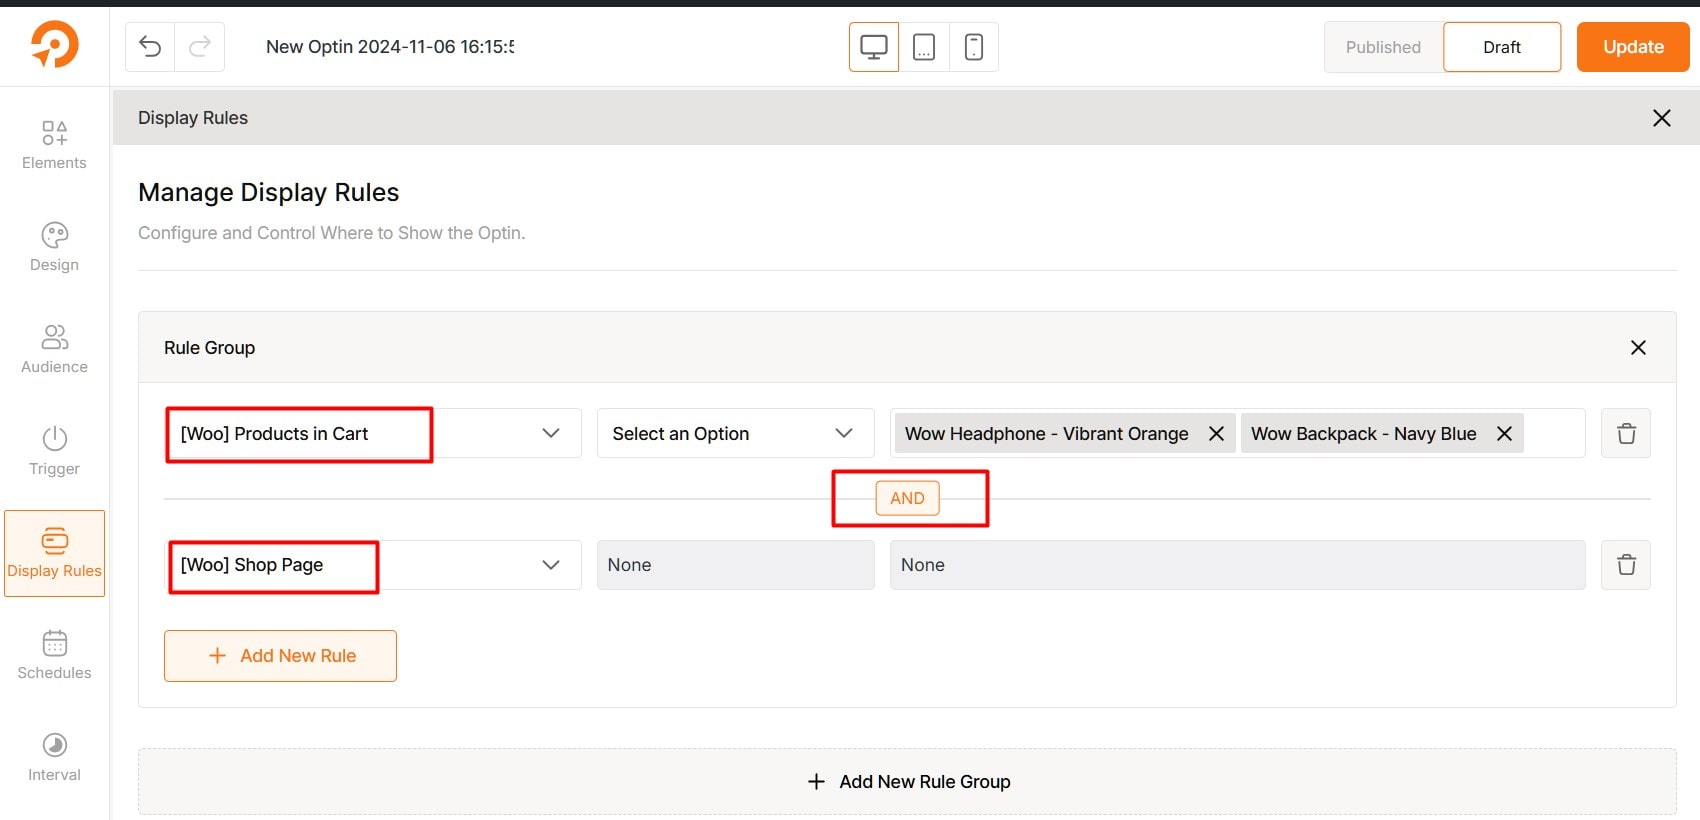
But, as you’re using WooCommerce, you can seamlessly add your coupon discount popup to product pages, cart pages, and other key areas of your online store with WowOptin.
You can even create rule groups and combine multiple rules to get super specific with your placement. Try different spots and see what works best for your audience.
And hey, if you’re curious about diving deeper into the details, Explore Opt-ins on WooCommerce Store
Step #8: Schedule Your Popup and Set Display Intervals
We’re almost done with the coupon discount popup! In this step, we’ll dive into two important tasks: scheduling and interval settings.
The Schedule Section allows you to set a timeframe to be active for your popup campaign by selecting a start and end date.
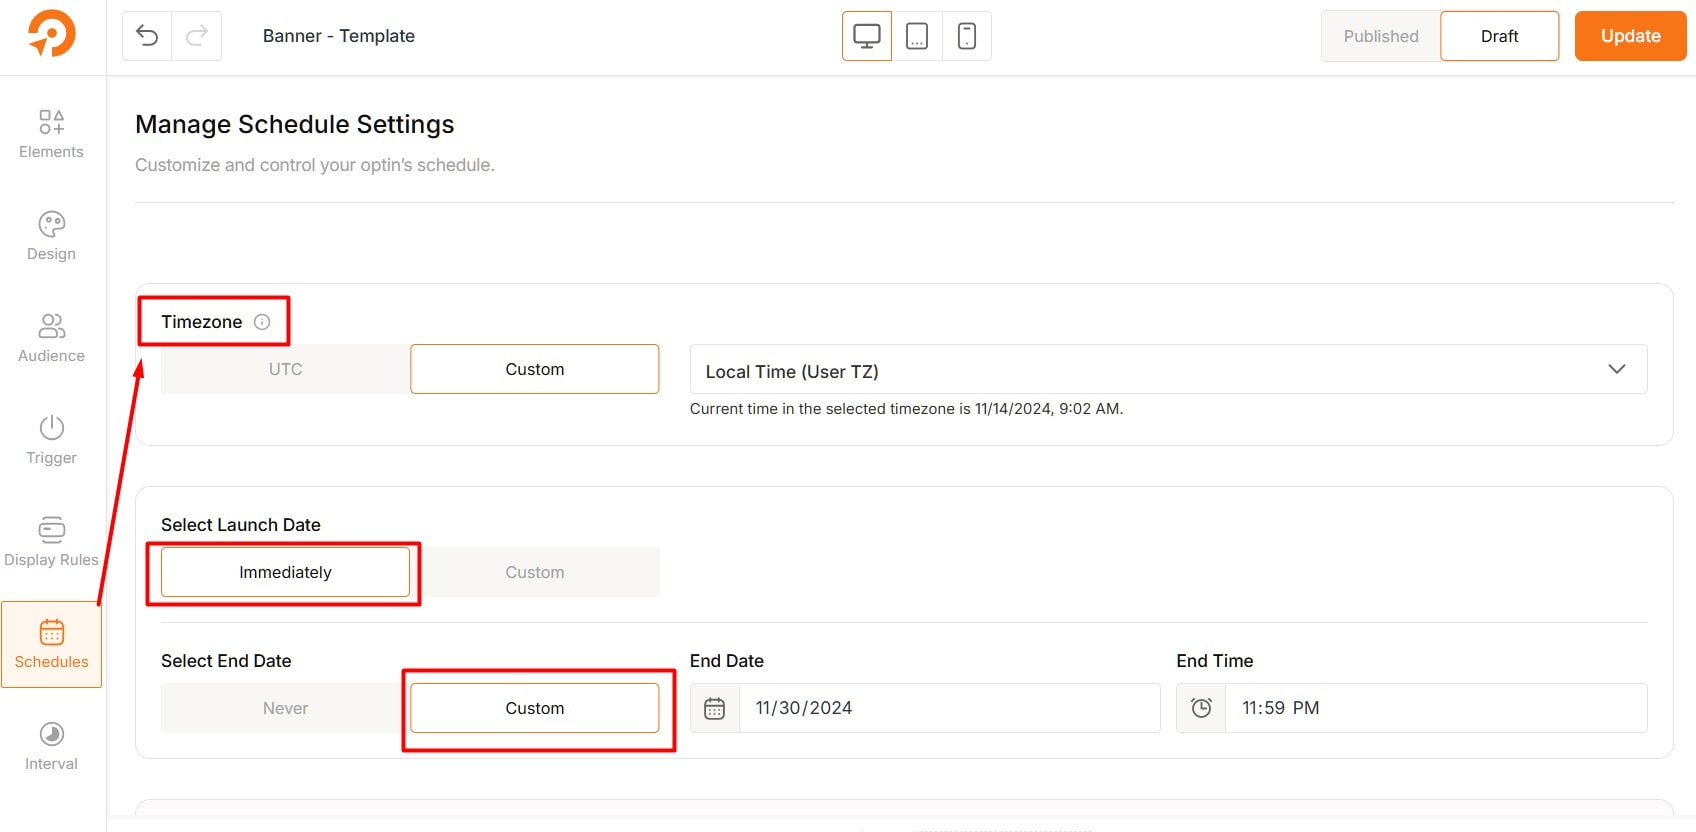
For added flexibility, you can set recurring days and times for the popup to appear. You can choose to show it every day, or on weekdays, or even select specific days and times that work best for your campaign.
Next, in the Interval Section, you can control how often the popup shows up. You can set it to appear every time a page loads or after a set time.
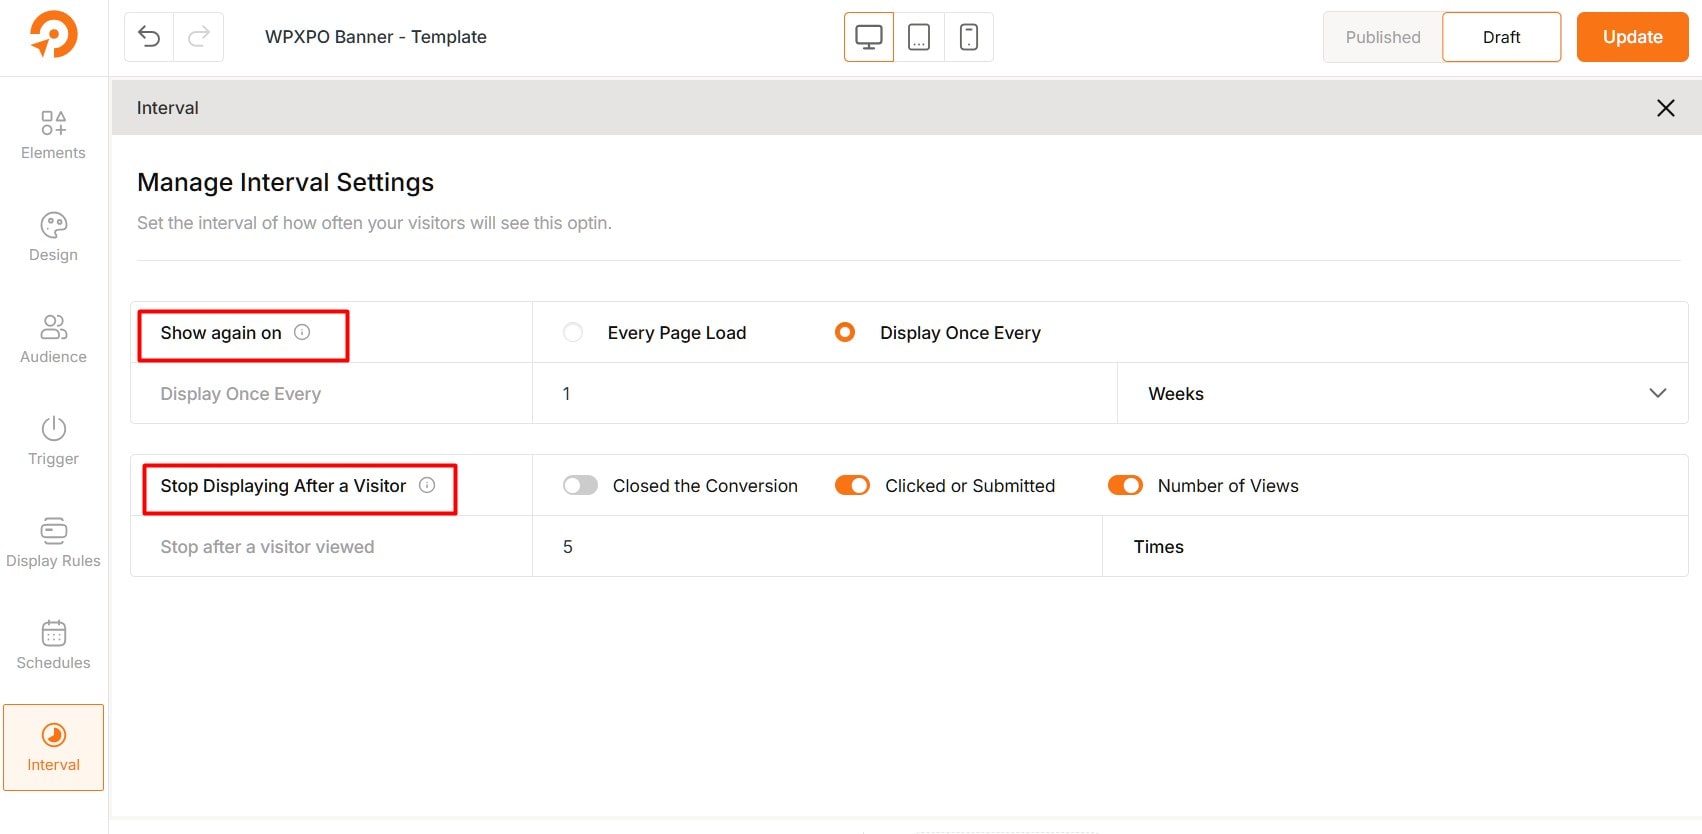
Plus, you can stop it from showing if a visitor interacts with it or after they’ve seen it a certain number of times. This way, you won’t overwhelm your visitors, and the popup will still get noticed.
Step #9: Integrate with Your Preferred Tools
Now that your coupon discount popup is designed, targeted, and scheduled, it’s time to integrate it with your preferred tools to communicate through email.
This integration means when someone enters their email on the popup, they get the coupon code automatically in their inbox.
WowOptin offers seamless integration with these email marketing tools such as:
- Mailchimp
- MailerLite
- HubSpot
- Brevo
- Moosend
- Omnisend
- MailPoet
- ConvertKit
- Campaign Monitor
- GetResponse
- Drip
- Google Analytics
- FluentCRM and more coming soon…
Expert Tips for Your Coupon Popups
The effectiveness of coupon discount popups depends on how they are implemented. Here are some top strategies to maximize the impact of your coupon discount popups:
Timing is Key
Avoid displaying the popup immediately when a visitor lands on your site. Instead, use a delay (e.g., 10-15 seconds) or trigger the popup based on user behavior, such as scrolling through a portion of the page or attempting to exit.
Keep the Headline Simple
Use concise and compelling copy that highlights the benefit of the offer. For example, “Get 15% Off Your First Order!” is more effective than vague messaging.
Use a Strong Call-to-Action (CTA)
Your CTA should be action-oriented and visually prominent. Phrases like “Claim My Discount” or “Unlock My Offer” work well. Ensure the button stands out with contrasting colors.
Create a Sense of Urgency
Use time-limited offers or low-stock alerts to encourage immediate action. For example, “Hurry! This offer expires in 10 minutes.”
Optimize for Mobile
Ensure your popup is mobile-friendly, with easy-to-tap buttons and a responsive design. Mobile users should have the same seamless experience as desktop users.
Test and Iterate
Run A/B tests to experiment with different designs, copy, timing, and offers. Analyze the results to determine what resonates best with your audience.
Start Offering Coupon Popups!
In conclusion, coupon popups are a great way to boost sales and attract high-quality leads in WordPress. But here’s the thing, it’s all about balance.
You need to offer something truly valuable, respect your visitors’ experience, and keep tweaking your approach to get it just right.
When you nail these elements, coupon popups become a win-win: your customers get a great deal, and your business sees the results.
So, what are you waiting for? Start offering coupon discount popups with WowOptin now.
FAQs about Coupon Popups
Here are some common FAQs people have about creating coupon popups in WordPress:
How do I edit or update an existing coupon in WooCommerce?
To edit or update an existing coupon, go to WooCommerce > Coupons in your WordPress dashboard, click on the coupon you want to edit, and update the details. Save your changes when done.
What types of discounts can I apply with WooCommerce coupons?
WooCommerce supports percentage discounts, fixed cart discounts, fixed product discounts, and free shipping coupons. Choose the type when creating the coupon.
Can I set expiration dates for WooCommerce coupons?
Yes, you can set an expiration date in the “Coupon expiry date” field under the “Usage Restriction” section. Use the correct date format (YYYY-MM-DD).
How do I restrict WooCommerce coupons to specific products or categories?
You can restrict WooCommerce coupons to specific products or categories by navigating to the “Usage Restriction” tab, specifying the products, categories, or users eligible for the coupon. Be mindful of how restrictions affect the discount.
Can customers use multiple coupons in a single order?
No, WooCommerce only allows one coupon per order by default. But you can use plugins or custom code to enable multiple coupons if needed.