To install WowOptin, ensure your system meets the minimum requirements. You can choose either an automatic or manual installation method.
⚠️ Important: Make sure to install the free version along with the pro version of WowOptin. You can download the free version from the link below. The installation process are same for both of the versions.
For now, WowOptin can only be installed manually. We’ll update this guide as soon as the automatic installation becomes available.
Manual Installation
For manual installation:
- Download the WowOptin plugin file from the WPXPO Account Dashboard.
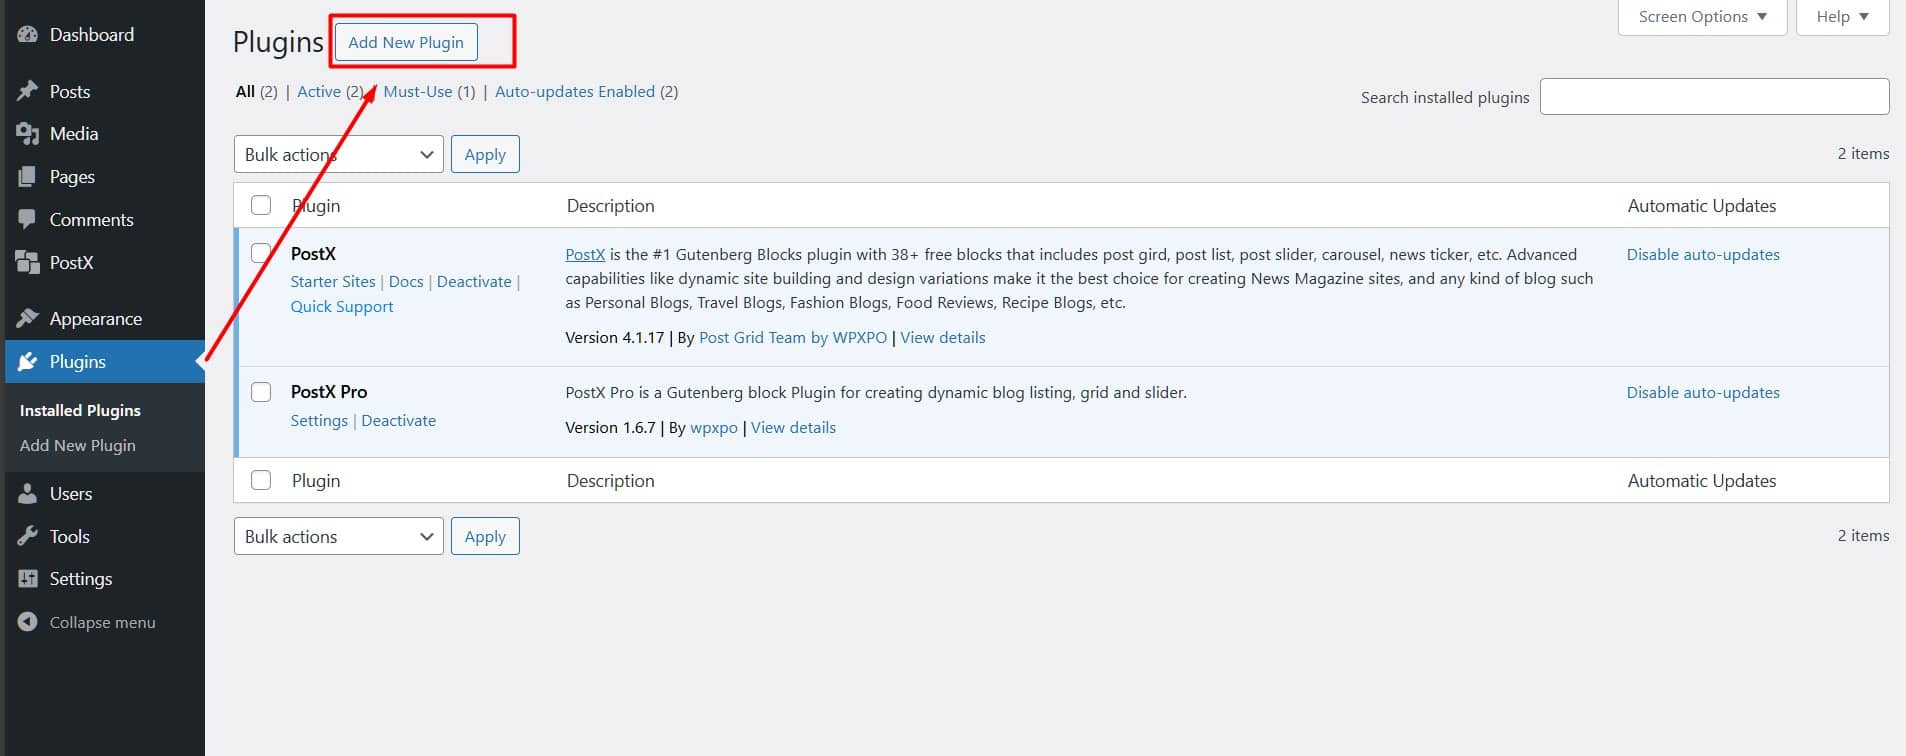
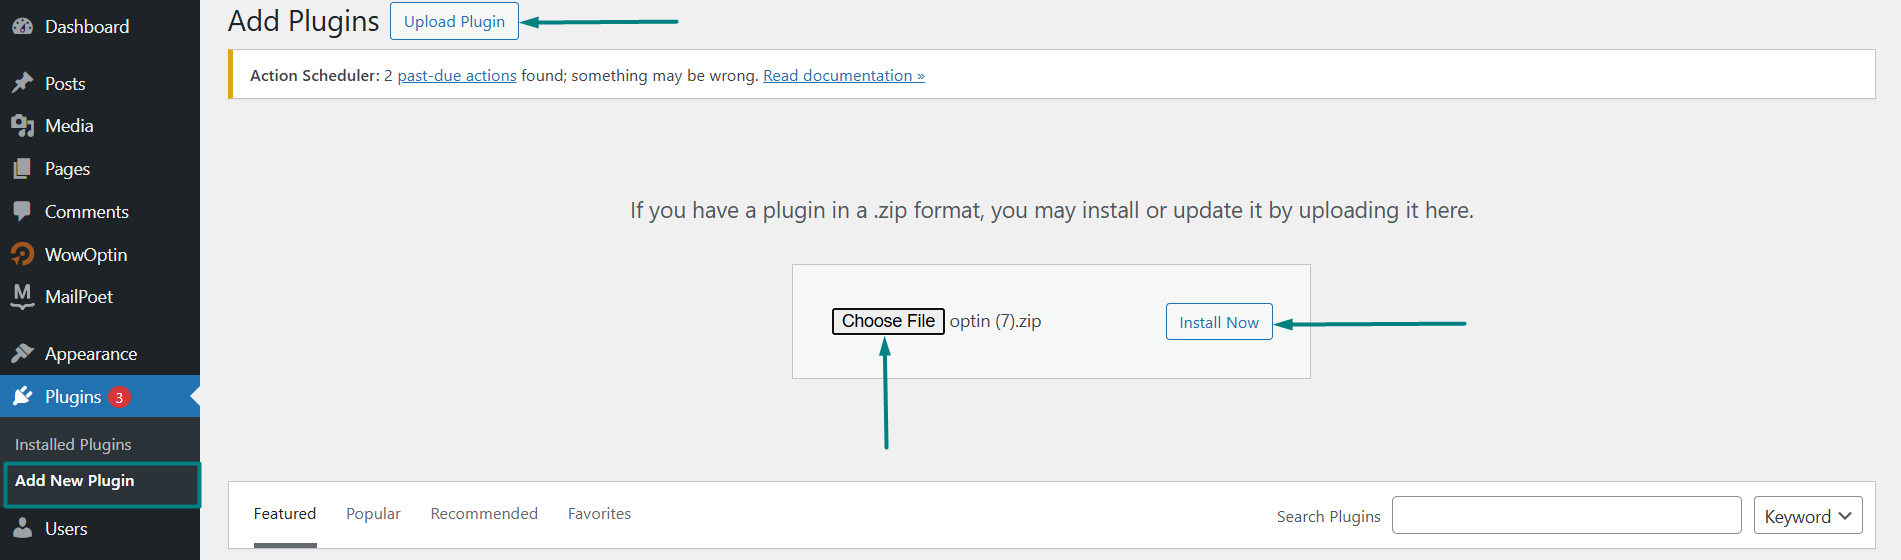
- Go to the “Plugins” section on your WordPress dashboard and click “Add New.”
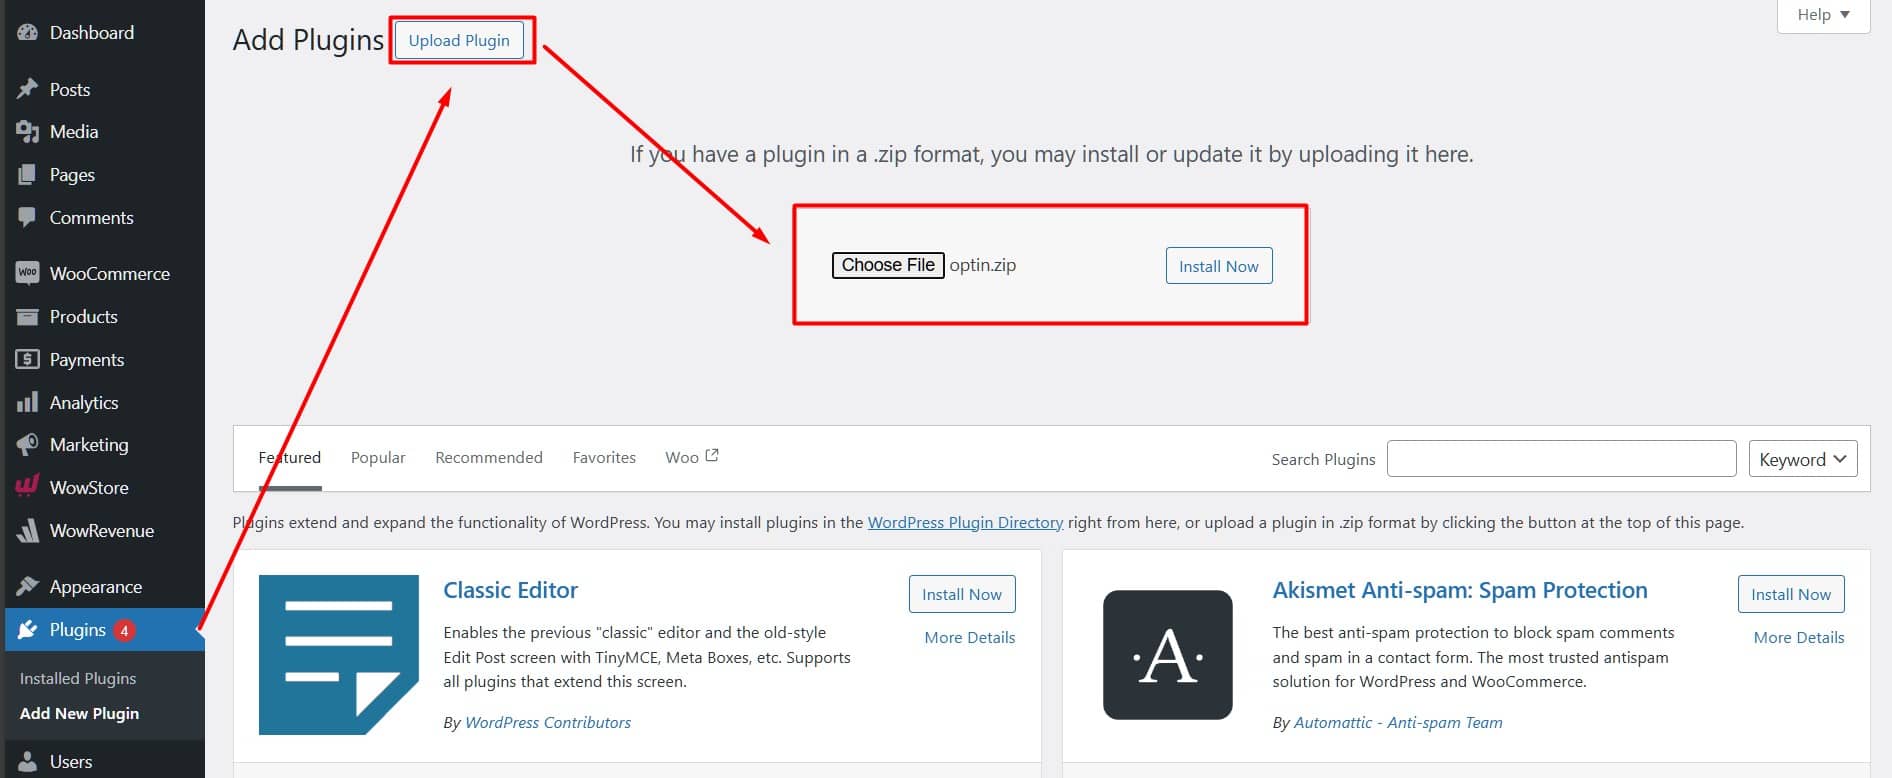
- Click the “Upload Plugin” button at the top left.
- Click “Choose File” and select the plugin file from your download directory.
- Click “Install Now.”
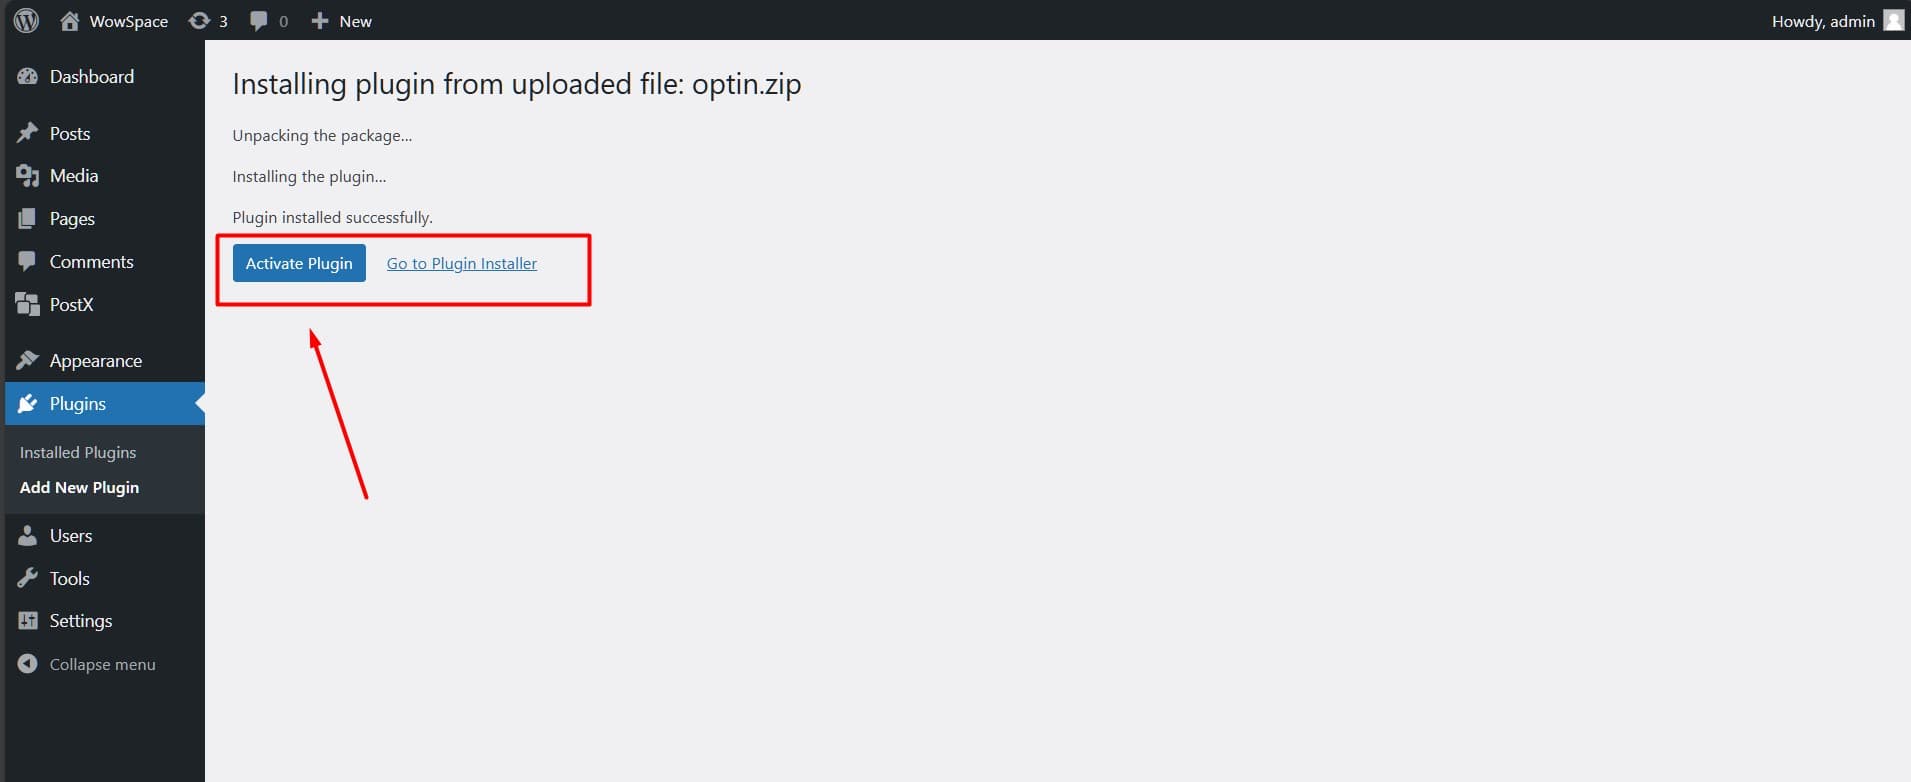
- Finally, activate the plugin to start using WowOptin.
Activating the Pro Version
To unlock all the features of the WowOptin plugin, you need a pro version license. Also, note the the free version of the plugin must be installed on your WordPress site along with pro version. You can download the pro version of your purchased plugin from “Your” WPXPO user dashboard.
To get it, you need to:
- Go to the WPXPO website and login to your user dashboard
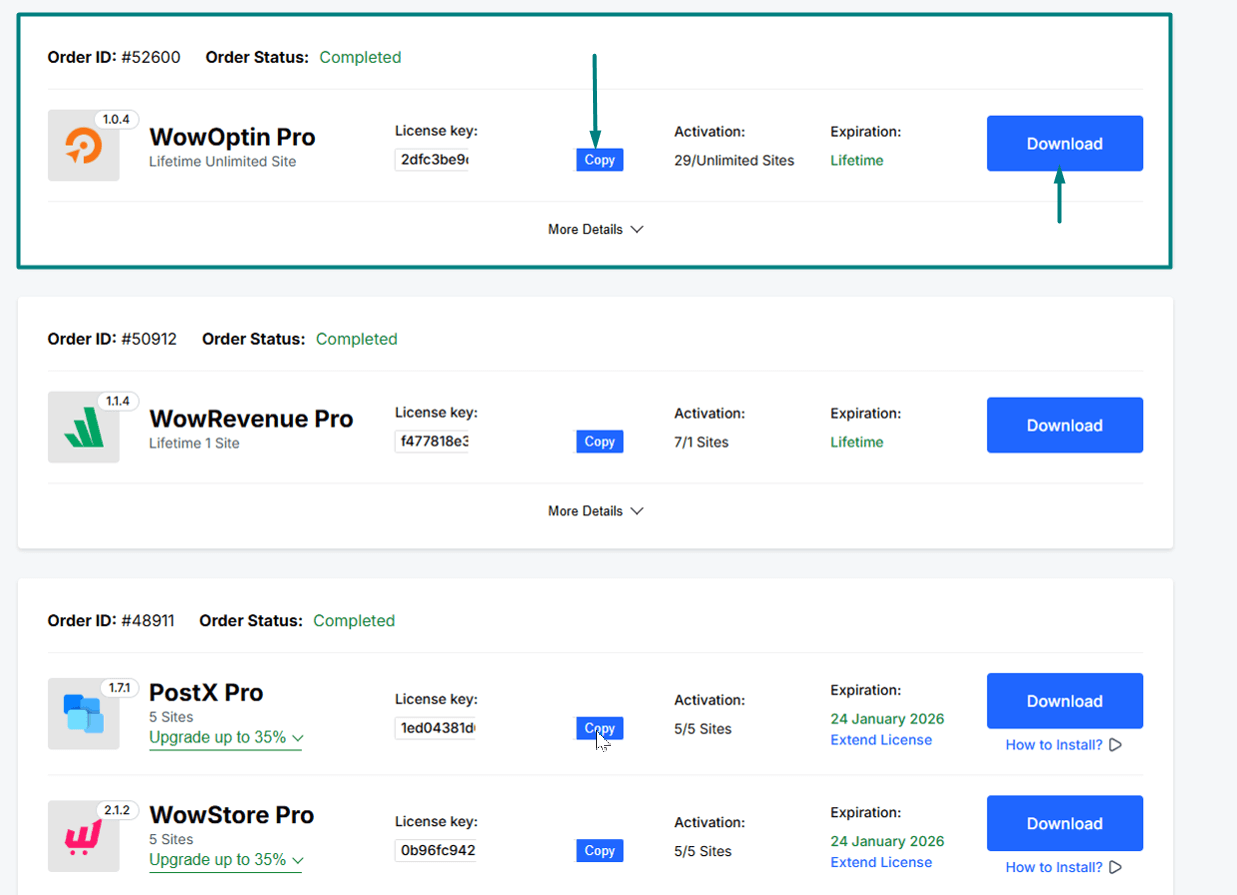
- Look for the WowOptin License key in your User Dashboard
- Copy the license key and download the pro version of the plugin
- Now, get back to the WordPress site where you installed the ‘free version’ of WowOptin
- Go to Plugins > Add New Plugin > Upload the Pro version from the directory where you downloaded it.
- Go to Now, from your WordPress dashboard go to WowOptin > License > and paste the license key
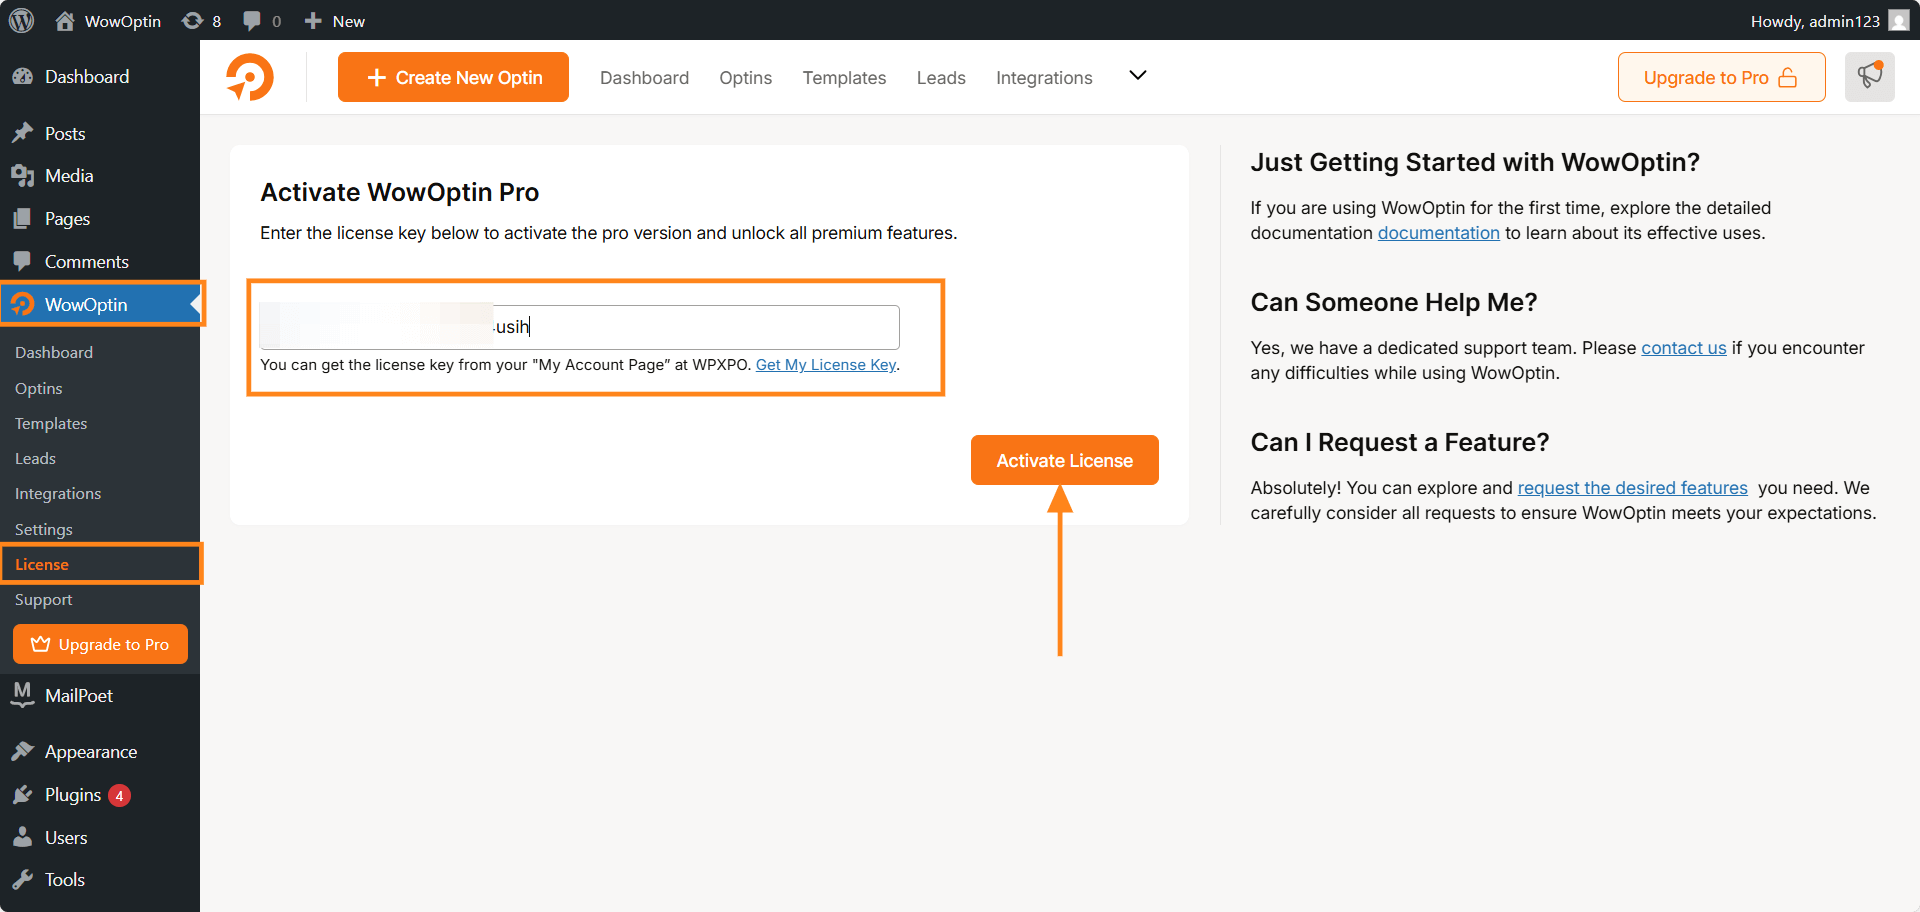
- Finally, click on “Activate License”
- Your product license will be updated.