WowOptin makes optin creation quicker. Here’s how:
- Go to WowOptin in your WordPress dashboard.
- In the upper left corner, click on Create New Optin.
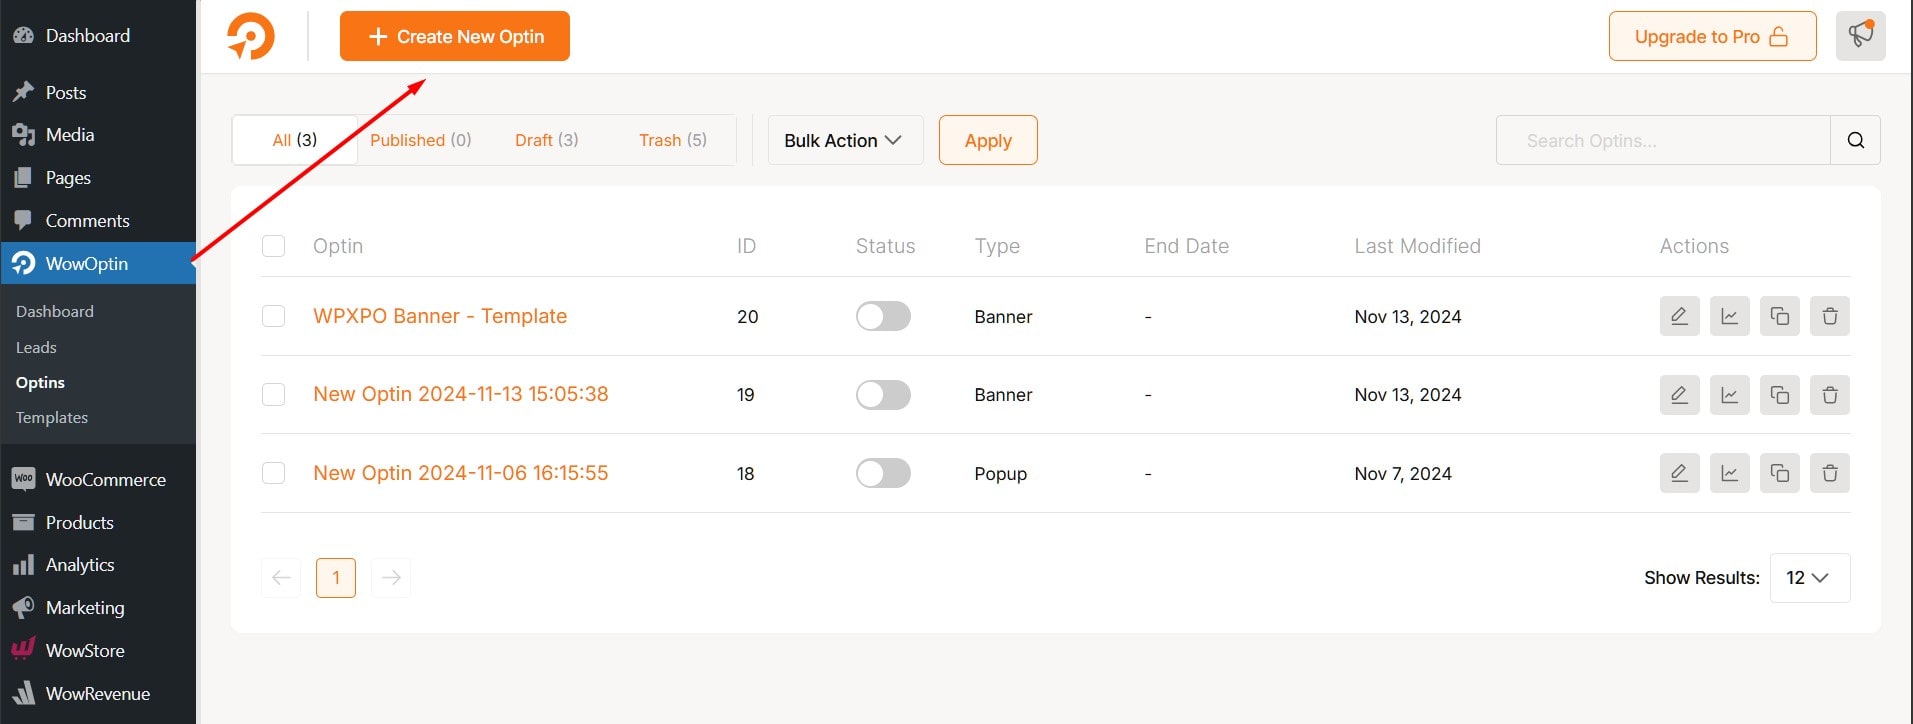
- You’ll be redirected to the template page with two main options.
- Select a template to begin or start from scratch for a custom design.
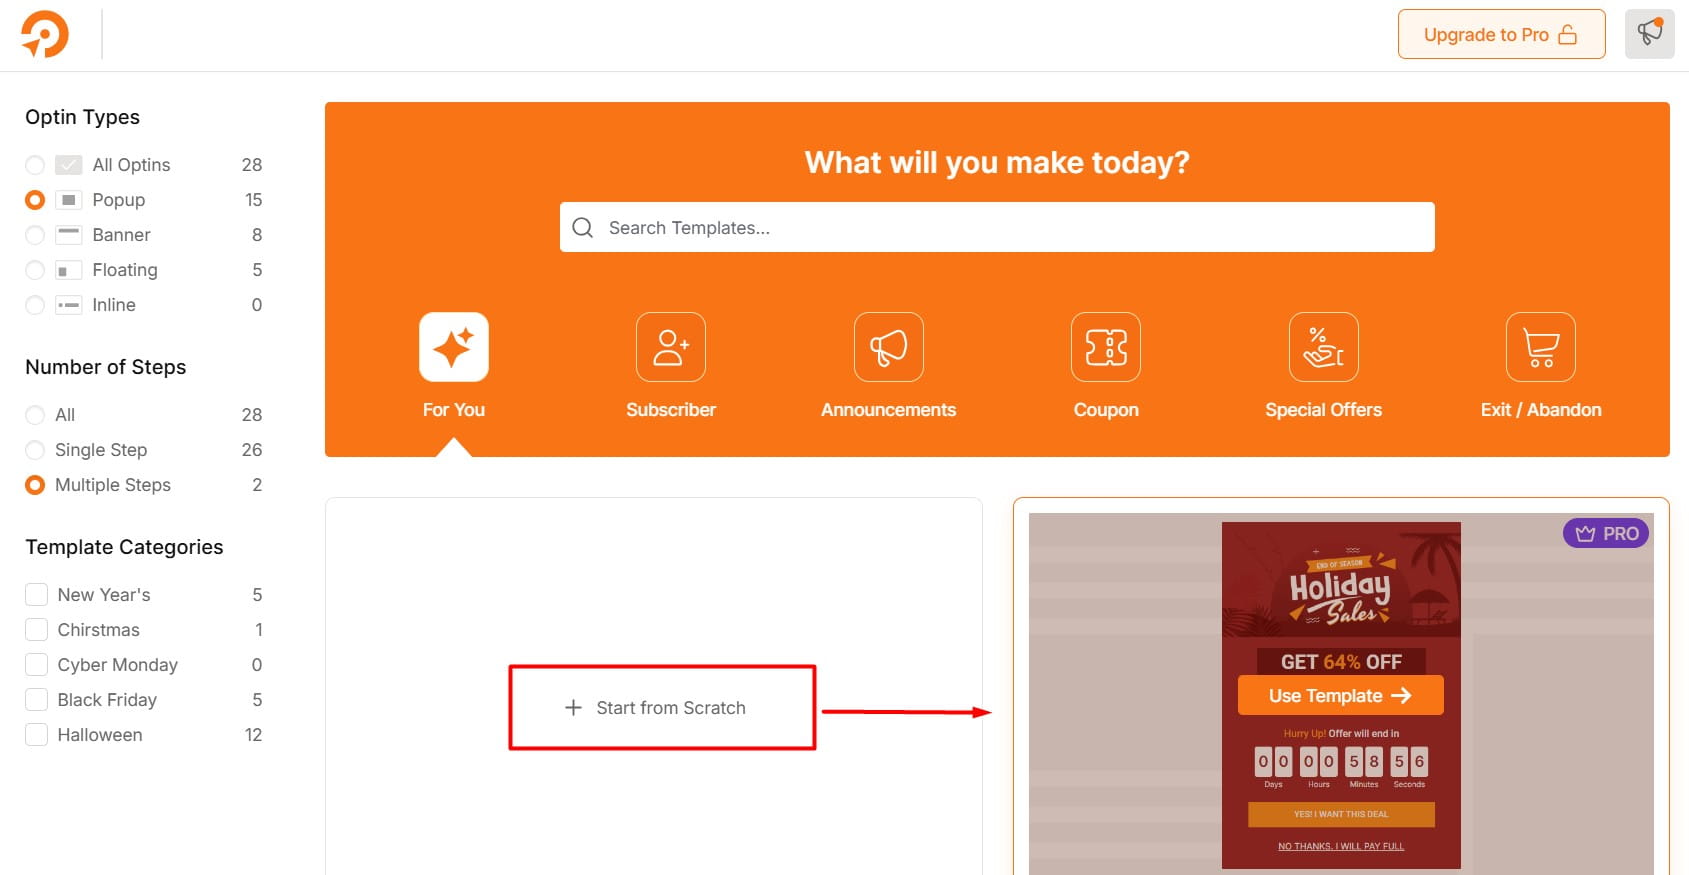
To start from scratch,
- Select the Blank Template.
- Next, choose an optin type that best fits your needs:
- Options: Banner, Popup, Floating, or Inline/Embedded.

If you want to create with a template, filter options are on the left to help you find the perfect design quickly.
Once you find the right template,
- Click Use Template to proceed
- On the popup, preview the template to see how it’ll look on devices.
- Change the name you want it to named (Optional)
- Click on Customize This Template
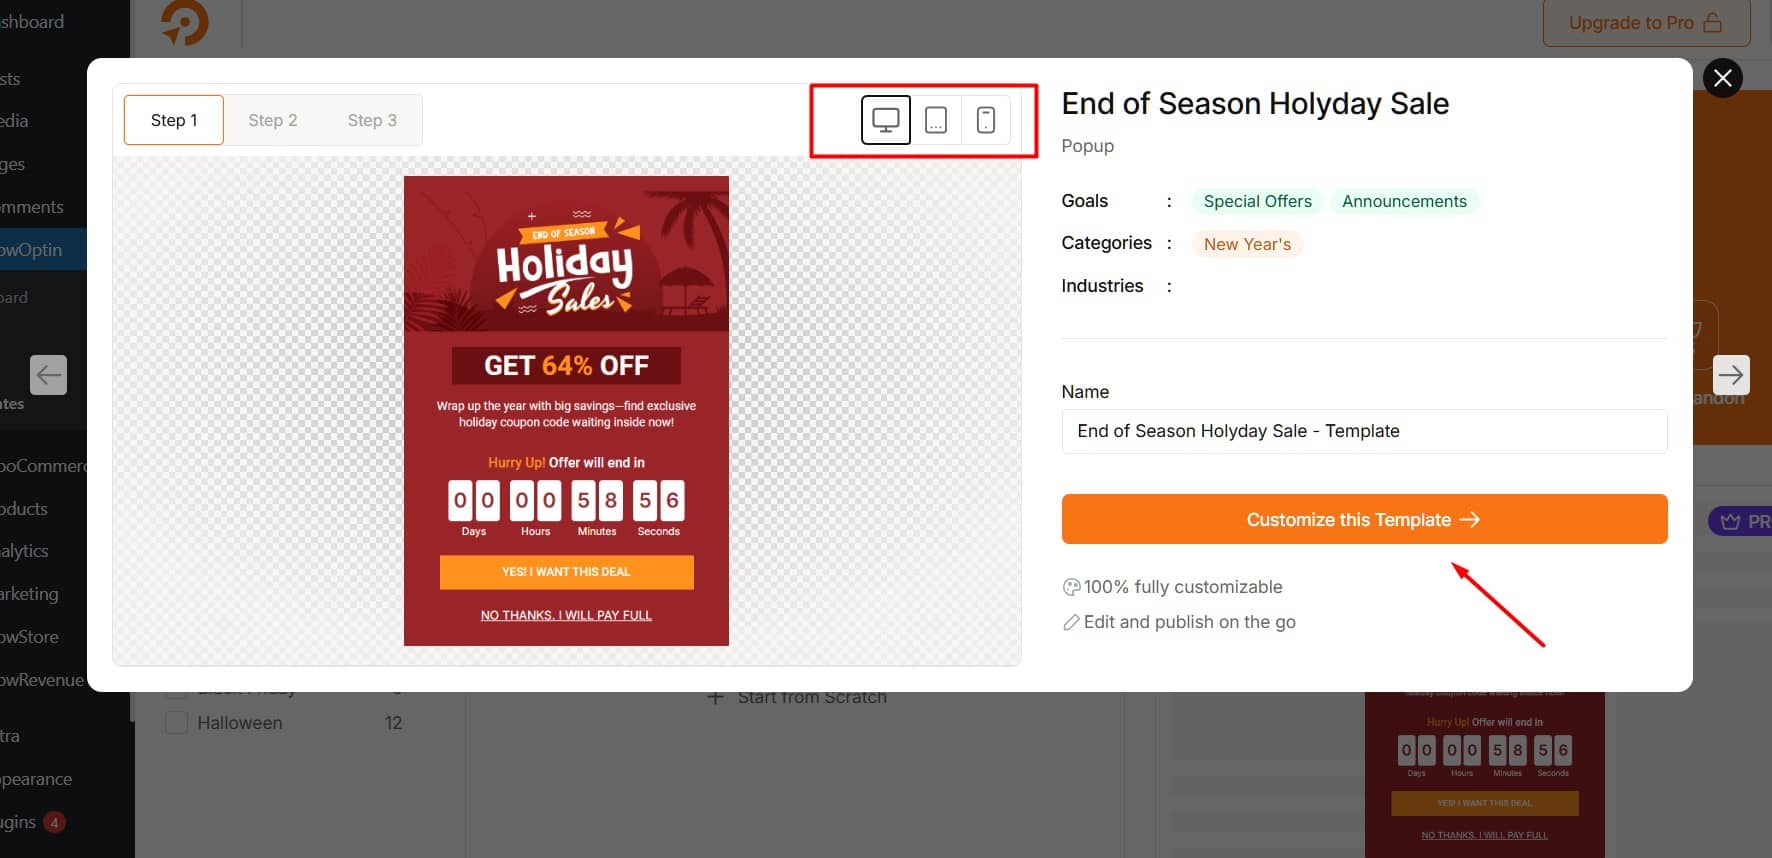
You will be redirected to the builder. And that’s it! You’re ready to build and style your optin to faster your business success.
Next, follow these steps:
Step 01: Drag and Drop the Required Elements
Drag the desired elements (e.g., text, buttons, images) from the Elements toolbar and drop them into your canvas. Arrange them to create the foundation of your opt-in.
Step 02: Make Design Customization
Customize the appearance of your opt-in to make it visually appealing and user-friendly. Adjust colors, fonts, and layouts to align with your brand or campaign theme.
Step 03: Choose Your Target Audience
Define your target audience by selecting specific demographics, behaviors, or user segments. This ensures your opt-in is shown to the right people.
Step 04: Manage Trigger Settings
Set how and when your opt-in will appear. Choose triggers like time delays, exit intent, or scroll depth to optimize user engagement.
Step 05: Set Display Rules
Configure display rules to control where your opt-ins appear, such as specific pages, entire site, or key areas in your WooCommerce or EDD store, like product or checkout pages.
Step 06: Schedule Your Optin
Set a start and end date/time for your opt-in to be active for a specific period, or choose recurring days and times for an evergreen option. This ensures it’s only active during your desired timeframe.
Step 07: Set Interval for Optin
Control how often the opt-in appears by showing it on every page load, once per session, up to a view limit, or stopping after closure or user actions like clicks or submissions.
Step 08: Set Up A/B Testing (Optional)
Create multiple variations of your opt-in to test headlines, designs, or CTAs. Monitor performance in real time and keep the version that converts best.
Step 09: Integrate with Third-Party Tools
Connect your optin with email marketing platforms, CRMs, or automation tools. Choose from native integrations or use webhook and Zapier support for custom workflows.