This guide will walk you through connecting WowOptin with Brevo to seamlessly sync your email lists for more effective email marketing campaigns.
Here’s how to set it up in just a few steps:
1. Obtain Your Brevo API Key
To connect WowOptin with Brevo, you’ll need a Brevo API key:
- Log in to your Brevo account
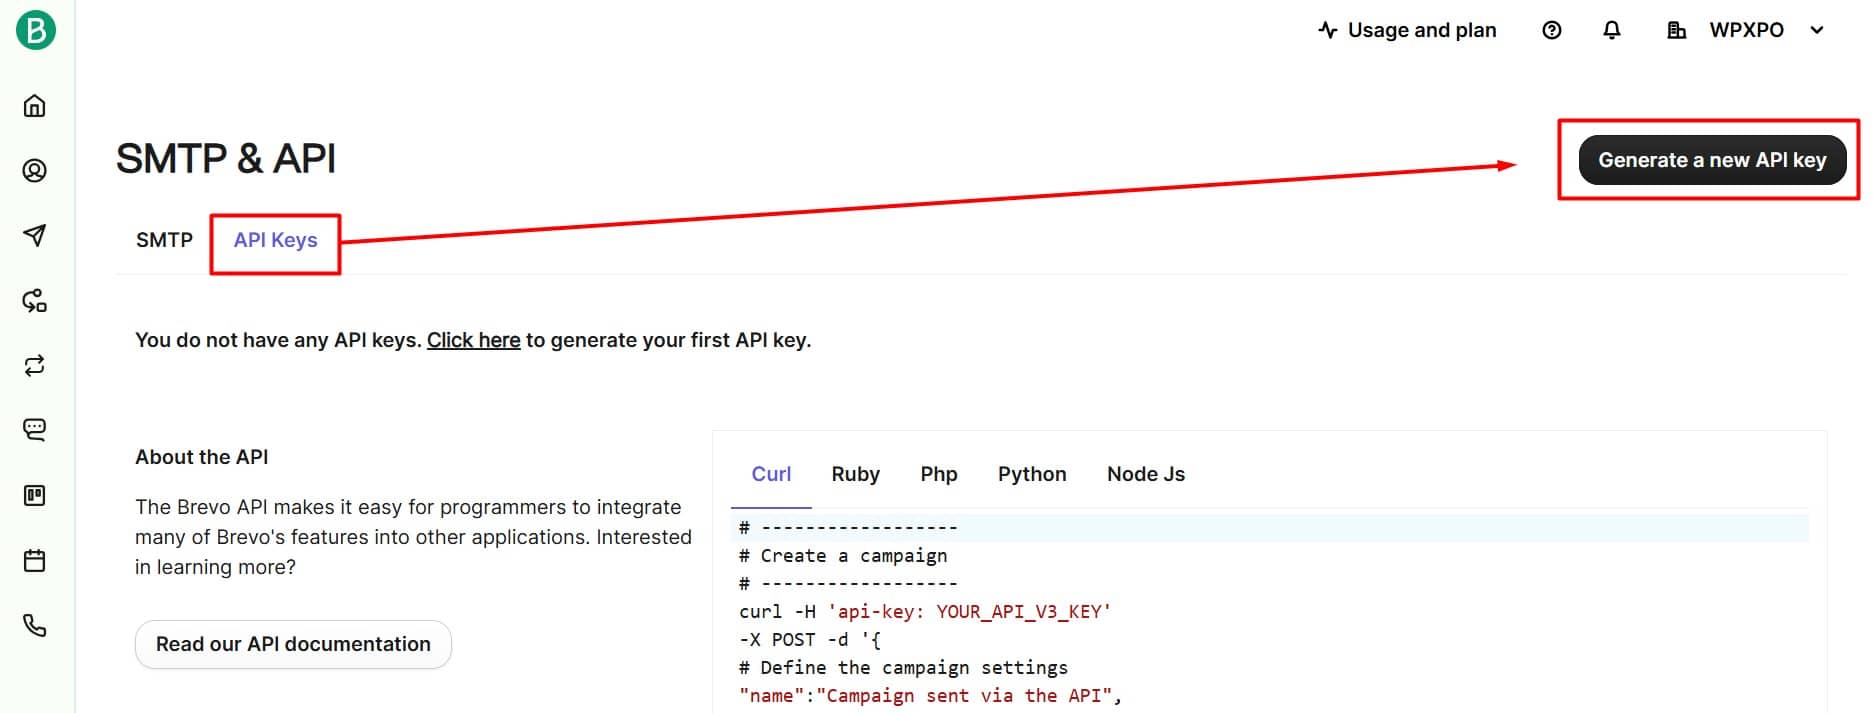
- Click on your profile icon and select SMTP & API
- Navigate to the API Key menu
- Click Generate a New API Key
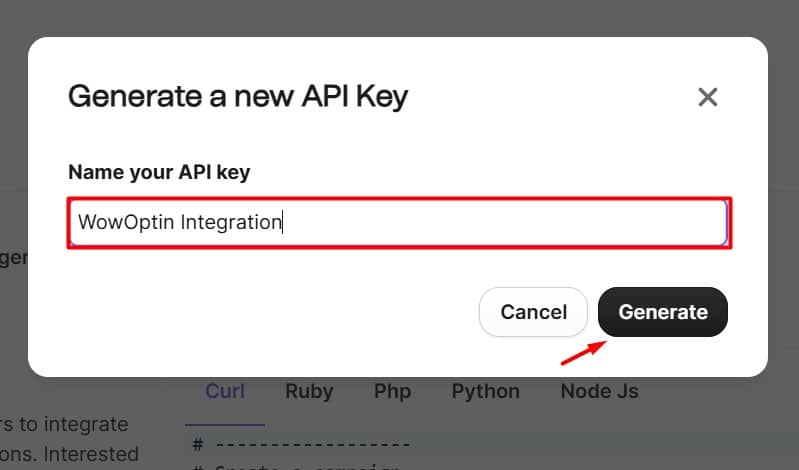
- Name your API key (e.g., “WowOptin Integration”)
- Click Generate
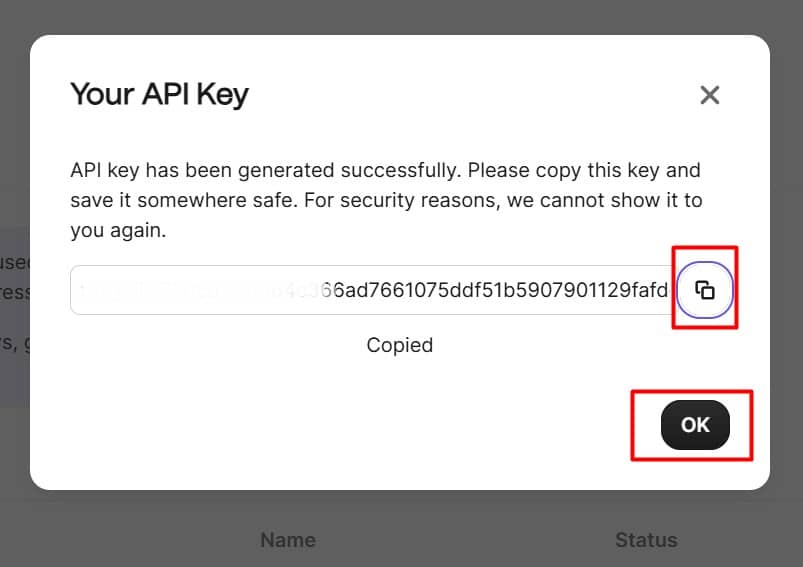
Important: Save your key securely. It will only be displayed once and cannot be retrieved later. If lost, you must generate a new key and update your WowOptin settings.
- Copy your API key immediately
- Click Ok when finished
2. Connect WowOptin to Brevo
Set up Brevo on WowOptin:
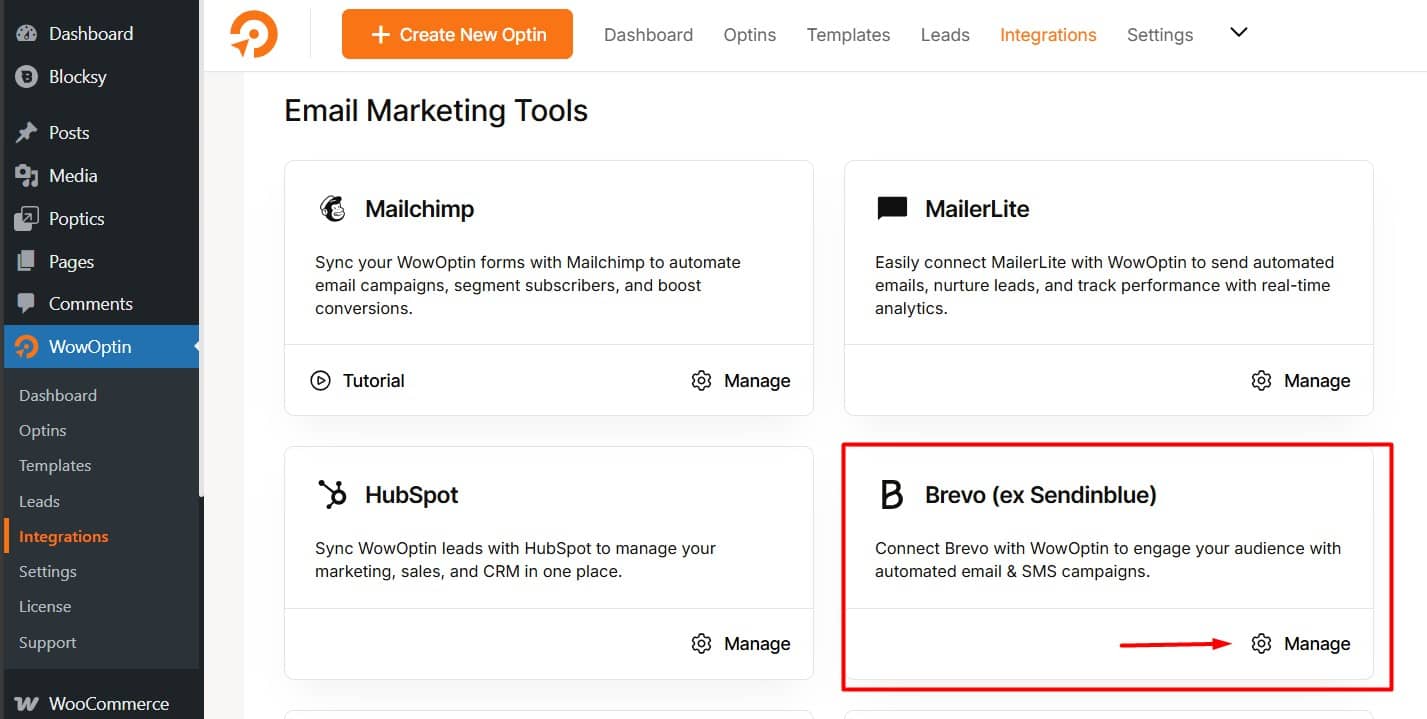
- Go to the Integration page in WowOptin
- Search for and select Brevo from the list
- Click Manage and then Add Account
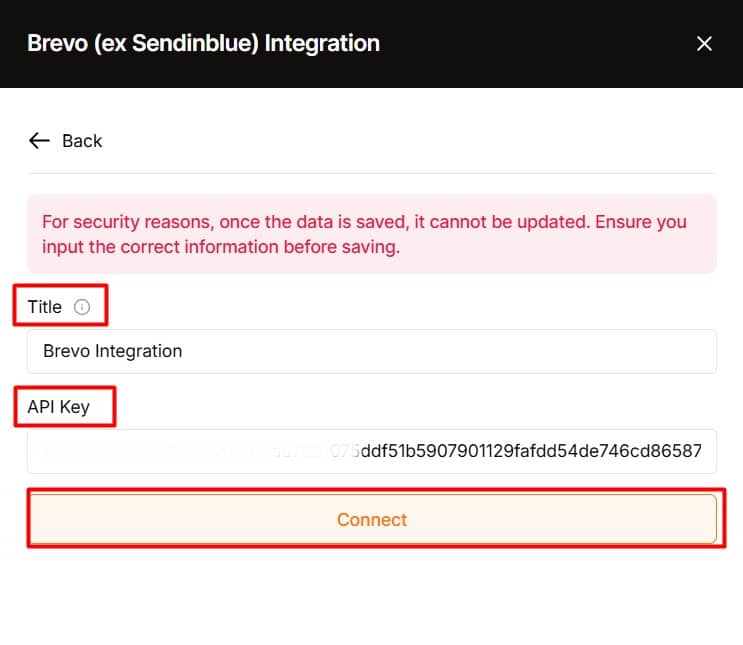
- Enter a descriptive title for the account
- Paste your Brevo API key
- Click Connect
3. Integrate an Optin Form with Brevo
In the WowOptin builder:
- Choose your optin form
- From the top sticky bar, click the Form Integration Icon
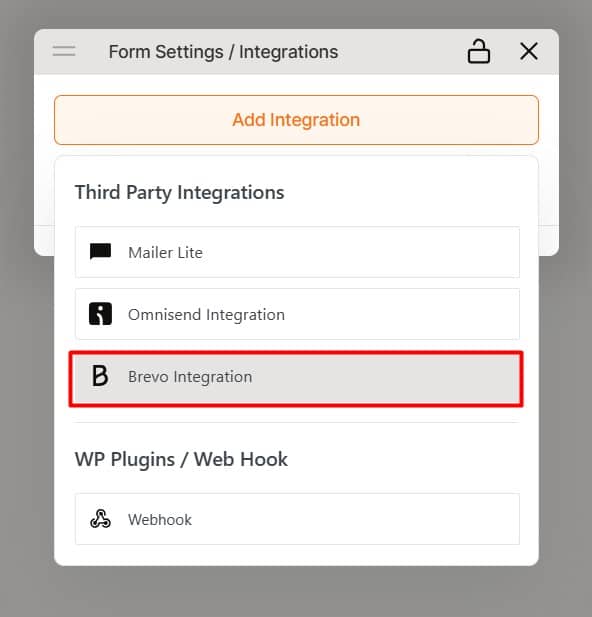
- Select Add Integration
- Choose the Brevo account you just set up
4. Set Up the Brevo Integration
Configure the integration:
- Click the dropdown icon
- Go to the Field Mapping section
- Map necessary fields (e.g., email field for the email input ID)
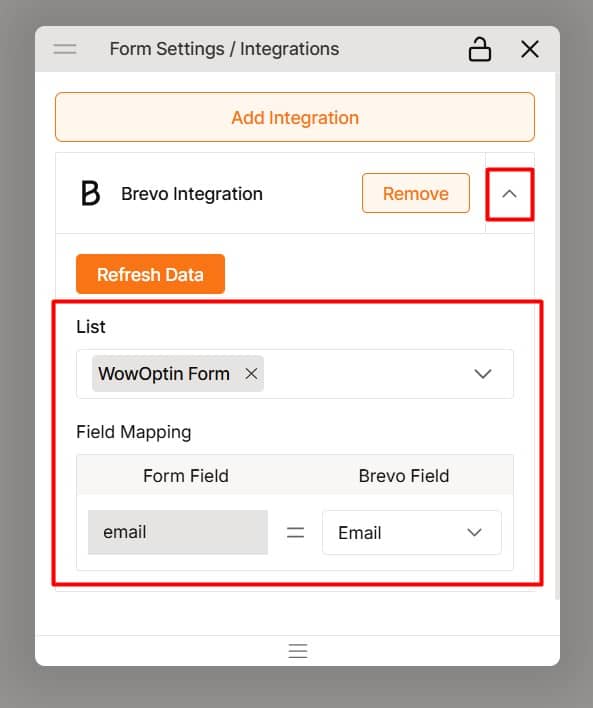
Brevo provides default fields for mapping, but you can add custom fields if needed.
⭐⭐⭐ When you follow these steps correctly, you’ll successfully collect submissions and store your audience data in Brevo.