In this guide, we’ll walk you through how to connect WowOptin with Omnisend so you can easily sync your email lists for smoother email marketing campaigns.
Just follow these simple steps to integrate WowOptin with Omnisend!
1. Obtain Your Omnisend API Key
To connect WowOptin with Omnisend, you’ll need your Omnisend API key. Follow these steps:
- Log in to your Omnisend account
- Click on your profile icon and select Store Settings
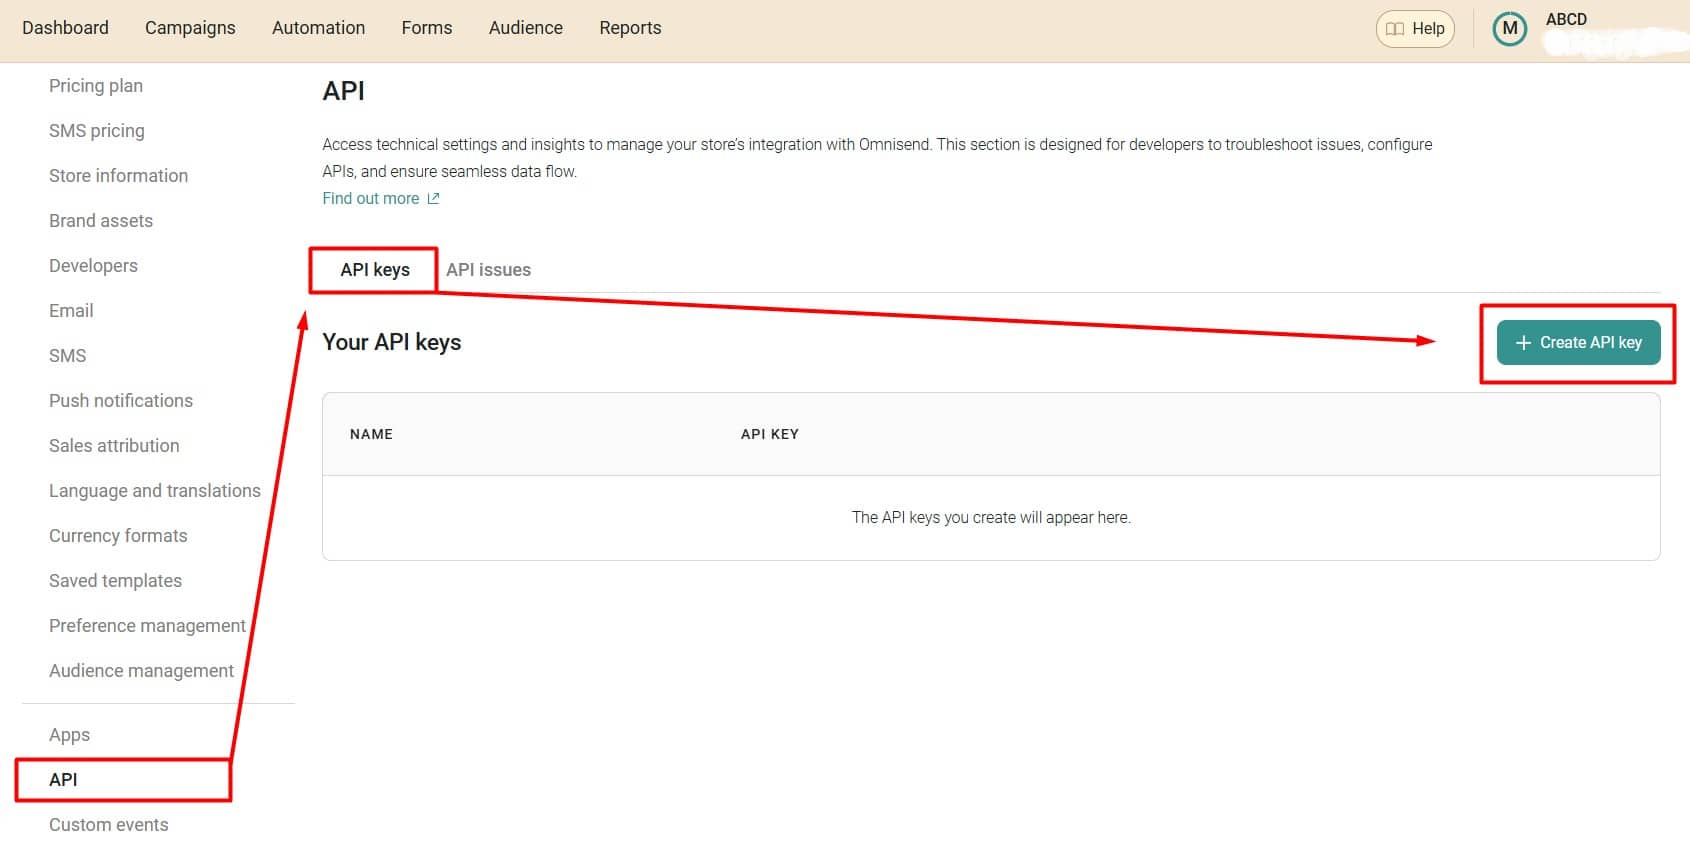
- Scroll down and click on API in the left navigation menu
- Click the Create API Key button
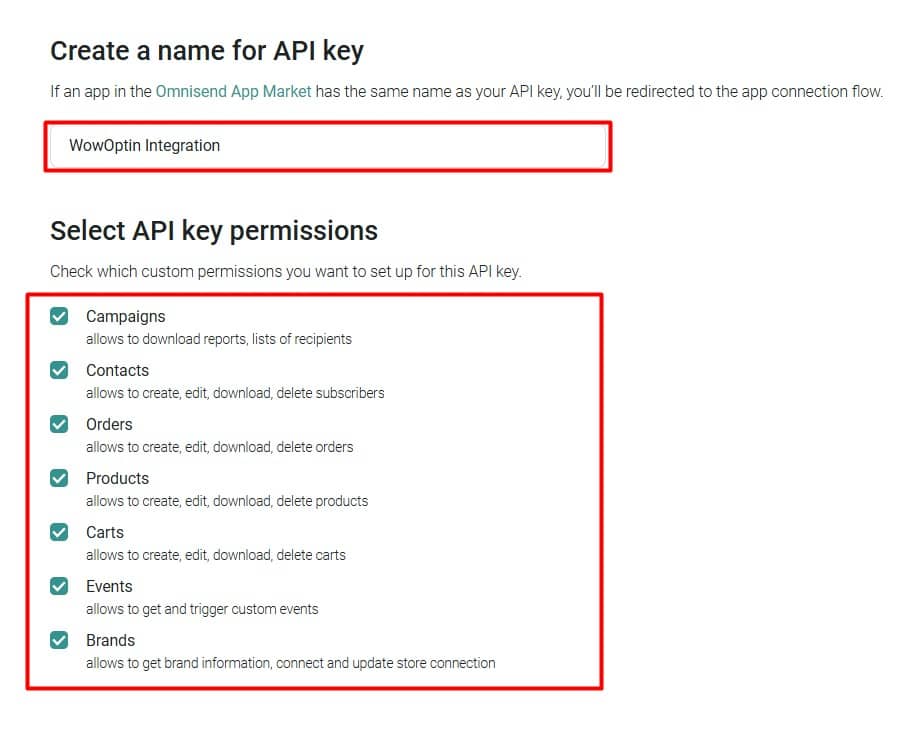
- Name your API key (something descriptive like “WowOptin Integration”)
- Select custom permissions for the API key
Important: Save your key in a secure location. The full key will only be displayed once and cannot be retrieved later. If you lose it, you must generate a new key and update your WowOptin integration settings.
- Click Create API Key
- Copy your API key immediately
- Click Close when finished.

2. Connect WowOptin to Omnisend
To set up Omnisend on WowOptin, follow these steps:
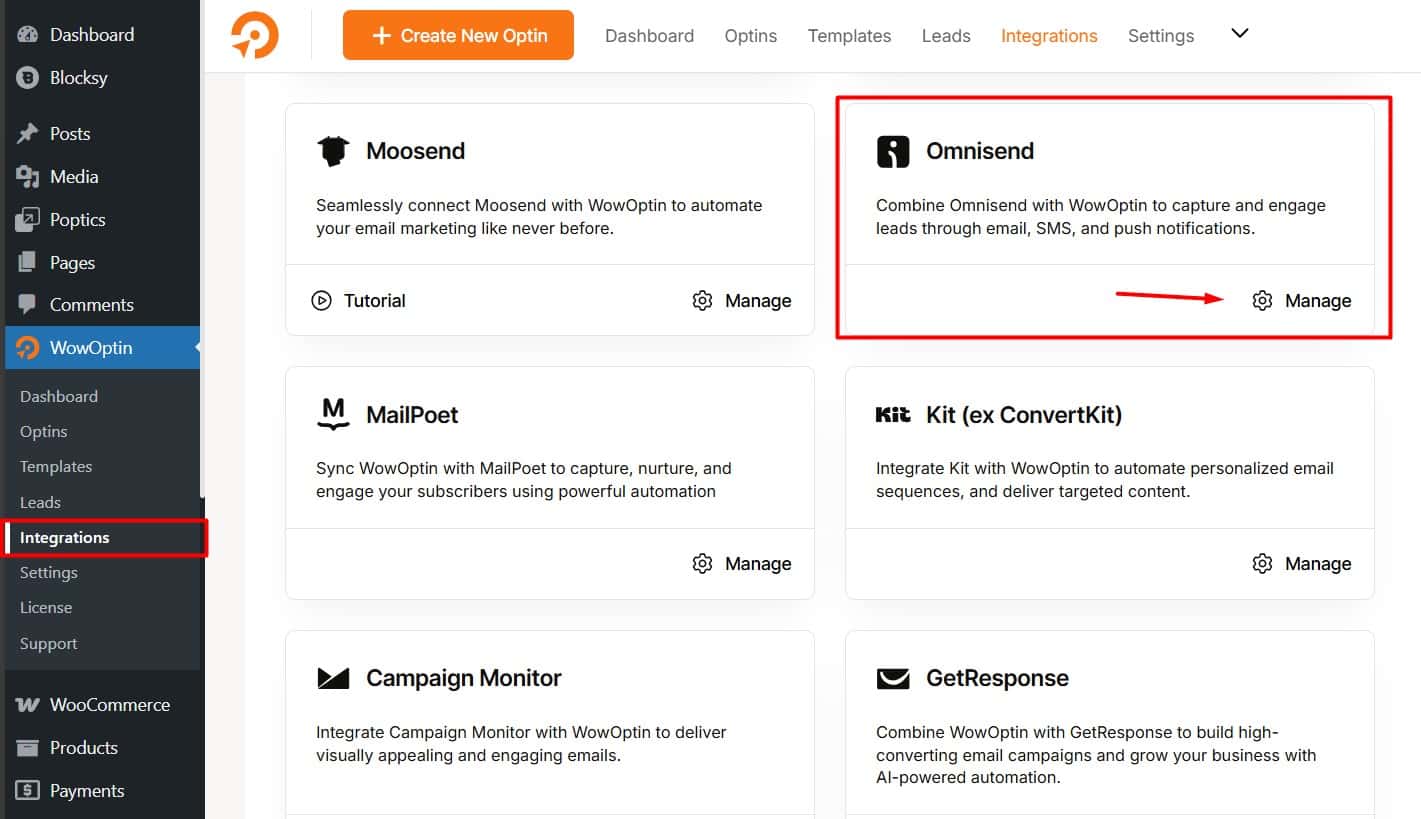
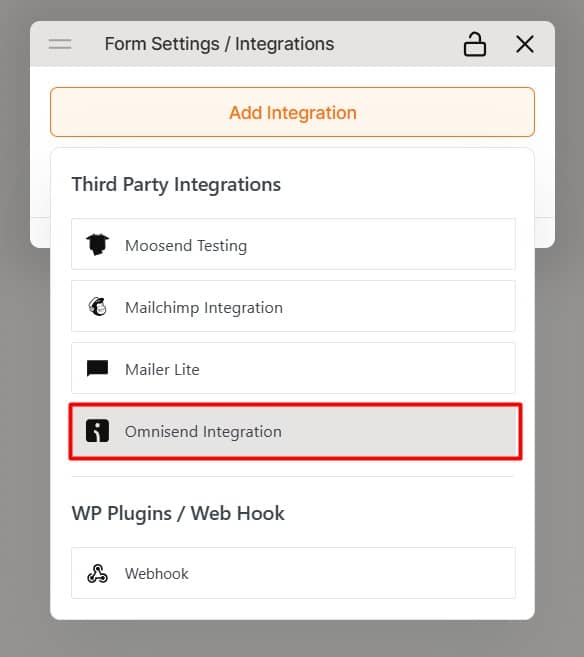
- Go to the Integration page in WowOptin
- Search for and select Omnisend from the list
- Click on Manage and then Add Account
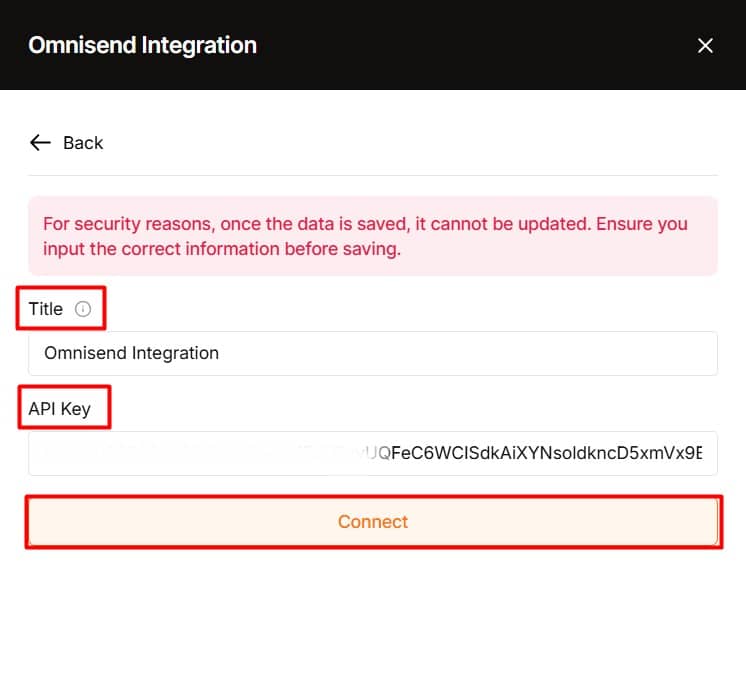
- Enter a descriptive Title for the account
- Paste the Omnisend API key you copied earlier
- Click Connect
3. Integrate an Optin Form with Omnisend
In the WowOptin builder, choose your optin form. Then, from the top sticky bar:
- Click on the Form Integration Icon
- Select “Add Integration“
- From the list, choose the Omnisend account you just set up.
4. Set Up the Omnisend Integration
Next, configure the integration for optimal performance. To do this:
- Click the dropdown icon.
- Go to the Field Mapping section and map the necessary fields, like the email field for the email input ID.
Omnisend pre-sets default fields for mapping, but you can also add custom fields if needed.
⭐⭐⭐ If you follow these steps correctly, you’ll be able to collect submissions and store your audience data in Omnisend.