This step-by-step guide will help you integrate WowOptin with SendFox, making it easy to collect leads and manage your email list without any manual work.
Follow these intuitive steps to integrate WowOptin with SendFox!
1. Collect Your SendFox Access Token
To connect WowOptin with SendFox, you’ll need the SendFox private access token. Here’s how to get it:
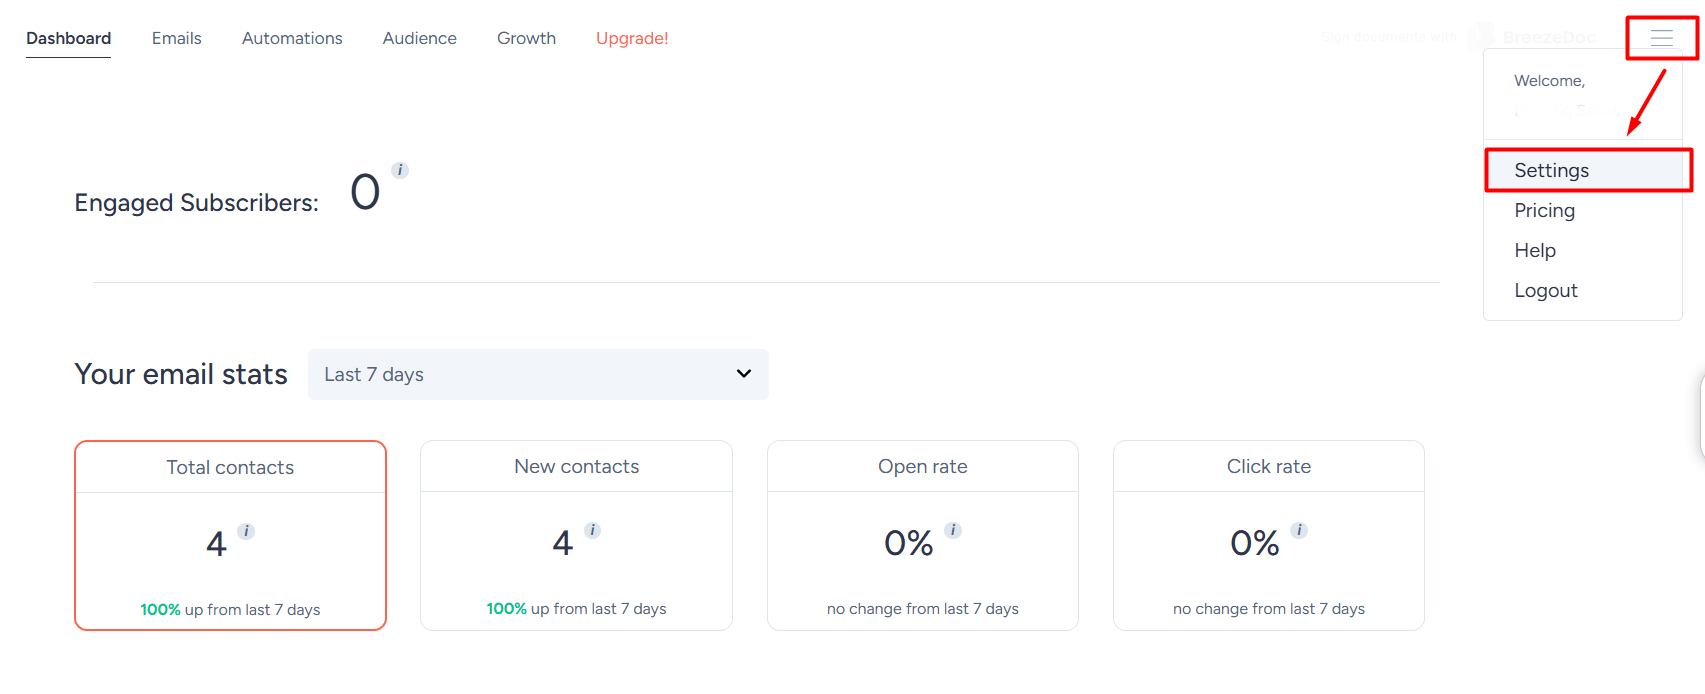
- Log in to your SendFox account
- Then click the hamburger menu (≡) in the top-right and choose Settings
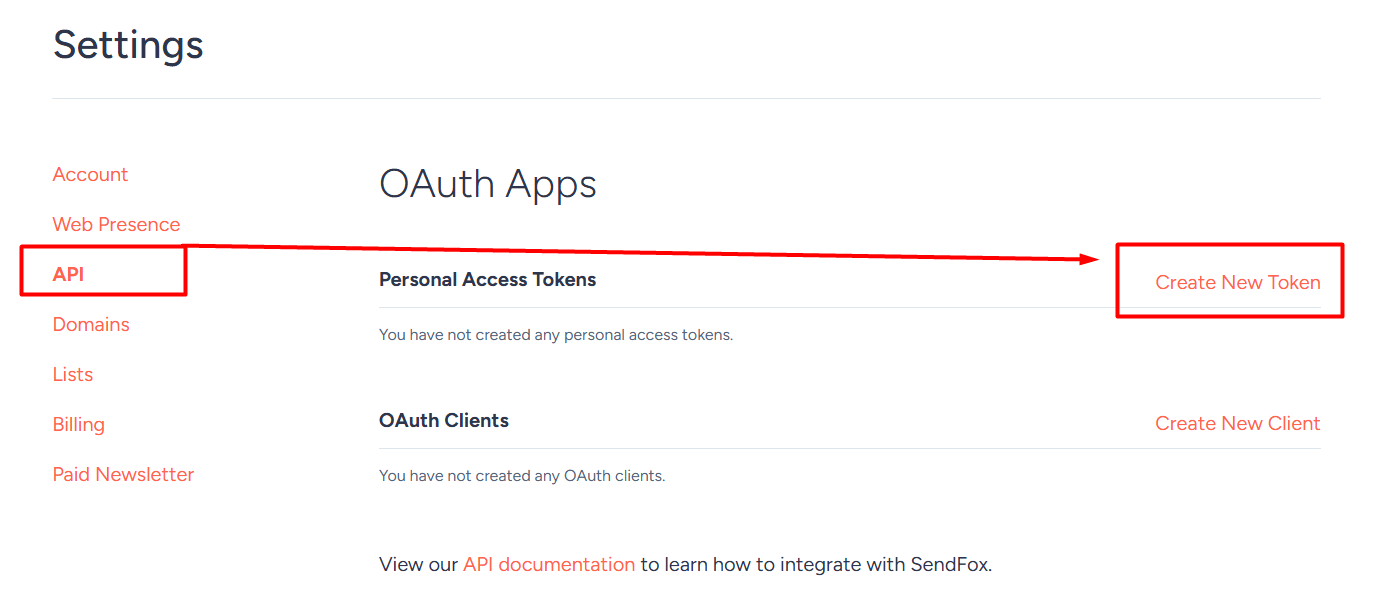
- In the left sidebar, go to the API tab
- Click the Create New Token button
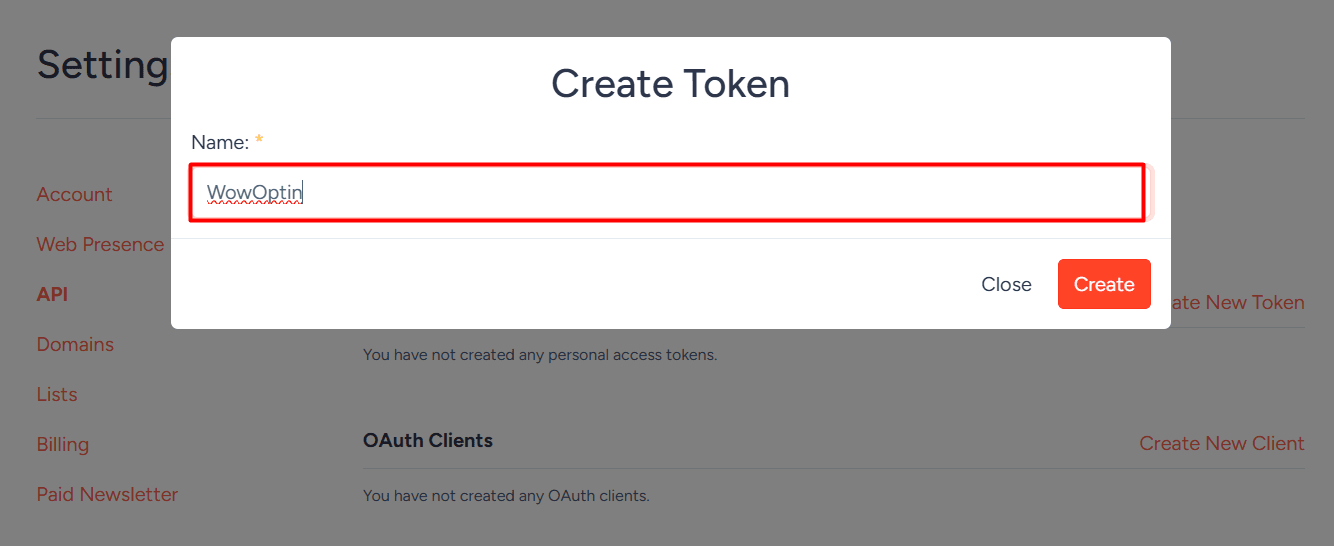
- Name the token something like “WowOptin Integration”
- Click Create, then copy your Personal Access Token
⚠️ Important: You’ll only see the full key once. Save it in a secure place. If you lose it, you’ll need to create a new one and update your WowOptin settings.
2. Connect SendFox to WowOptin
To set up SendFox on WowOptin, follow these steps:
- Go to the Integration page in WowOptin
- Select SendFox from the integration list
- Click Manage, then Add Account
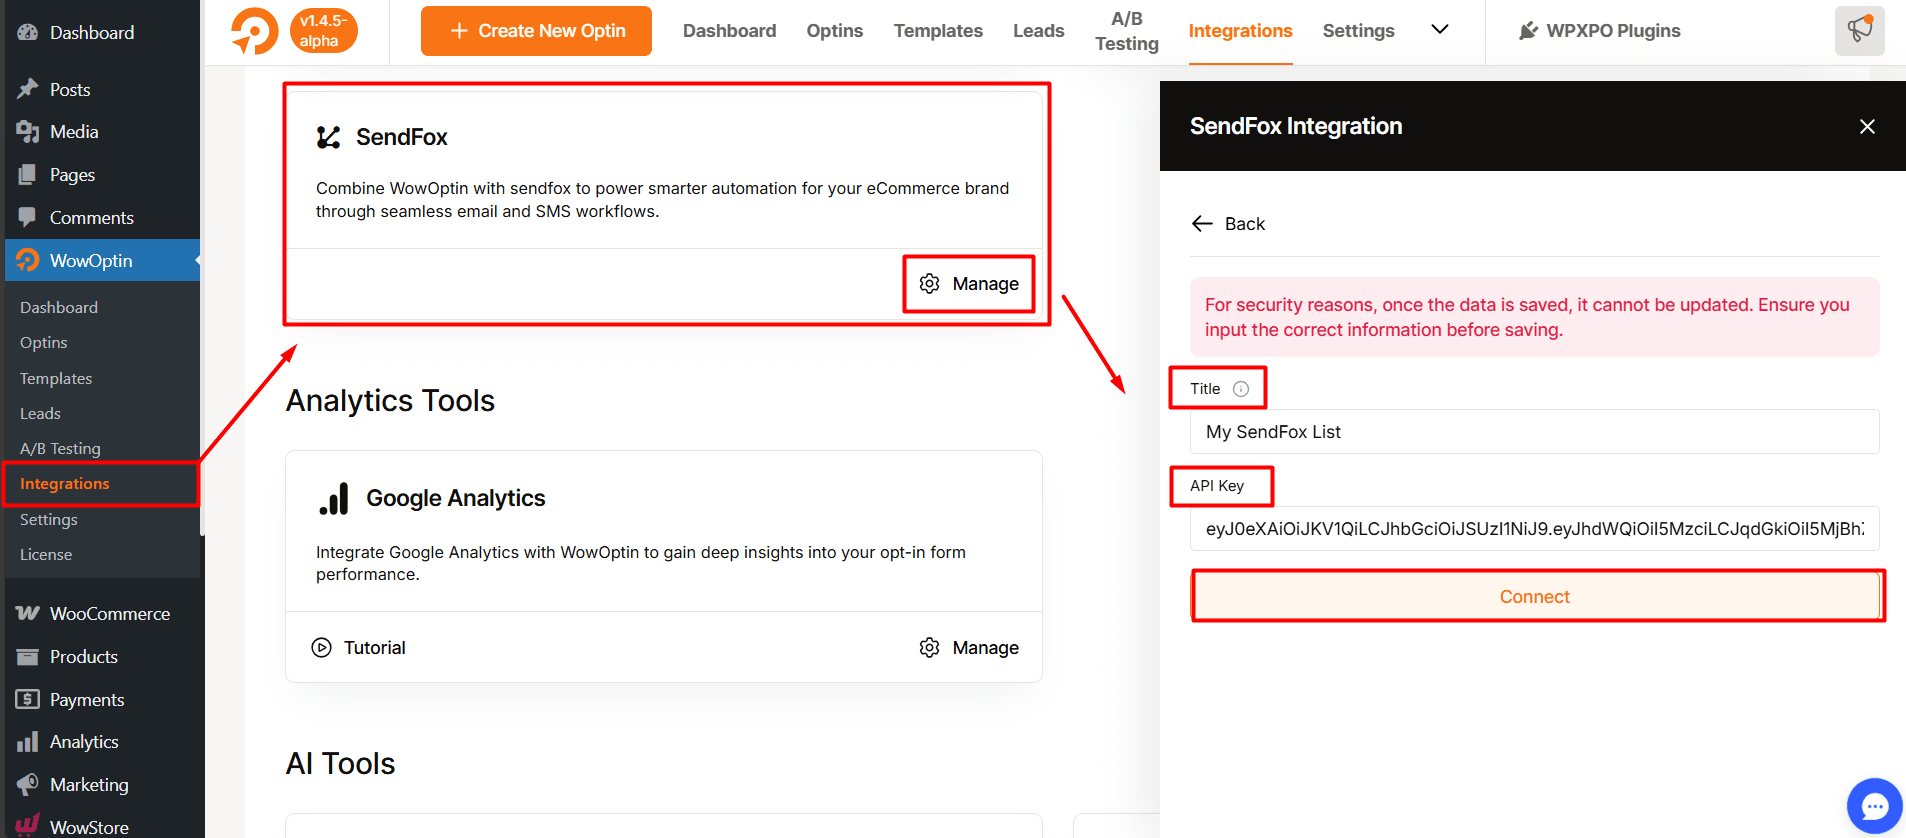
- Enter a descriptive Title for the account (e.g., “My SendFox List”)
- Paste the SendFox API key you copied earlier
- Click Connect
✅ Your SendFox account is now connected to WowOptin!
3. Integrate an Optin Form with SendFox
To link a form with SendFox, open your optin form in the WowOptin builder. Then:
- Click on the Form Integration Icon from the top sticky bar
- Select Add Integration
- Choose the SendFox account you just connected from the dropdown
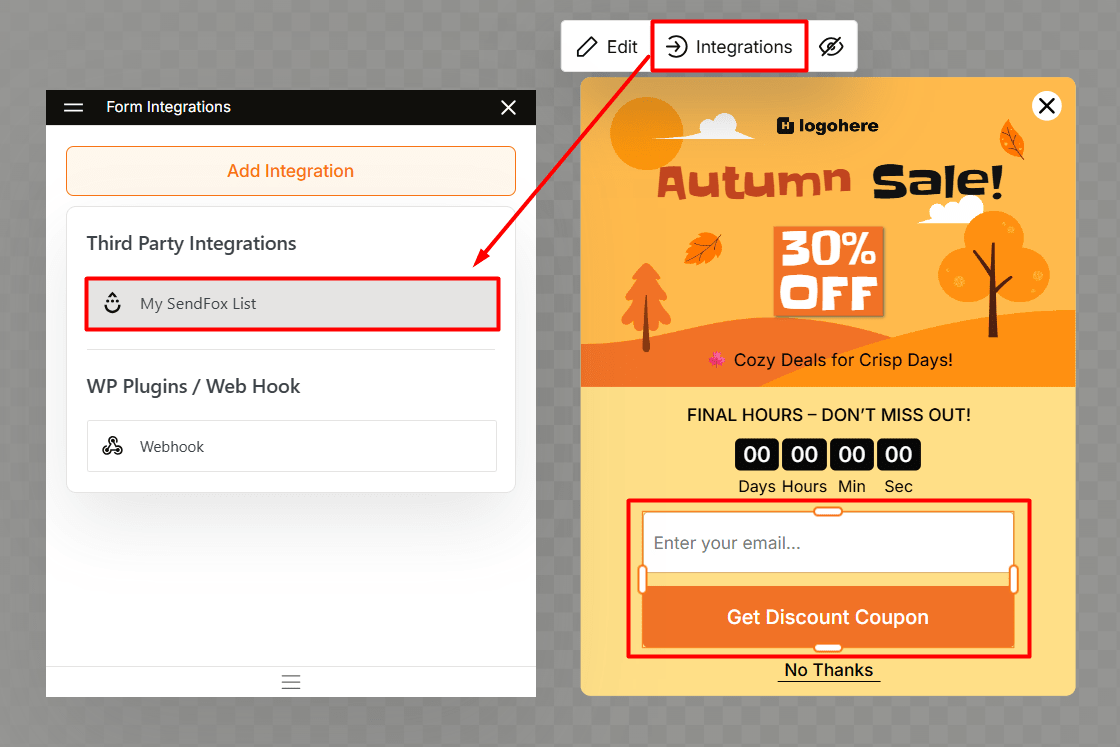
📌 This tells WowOptin where to send new subscriber data.
4. Set Up the SendFox Integration
Now it’s time to configure your integration settings. Here’s what to do:
- Click the dropdown icon next to your connected SendFox account
- In the List field, pick the SendFox list(s) where you want new contacts to go
- Map your form fields accordingly:
email→ Email Inputfirst_name→ Name Input (optional)
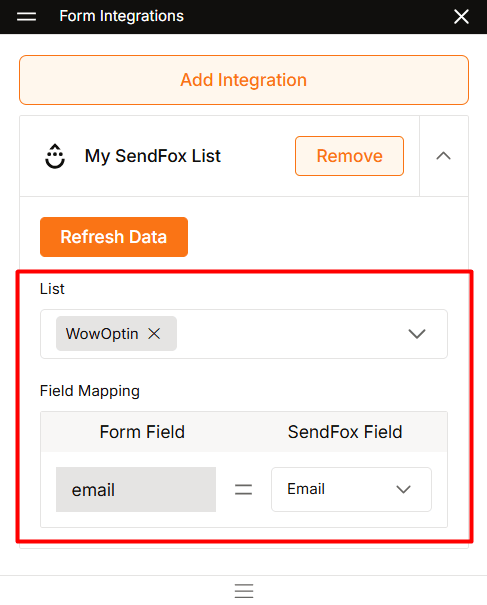
SendFox’s API supports three main contact fields Email, First Name, Last Name and WowOptin lets you easily align your form fields with these defaults.
⭐⭐⭐ If you follow these steps correctly, you’ll be able to capture leads through WowOptin and send them directly to your SendFox lists – automatically and effortlessly!