Webhooks let WowOptin send the contact details your visitor submits through forms (like name, email, phone number, and more) directly to any third-party tool you use. It all happens instantly, the moment they hit “Submit”.
Whether you’re using a CRM, email marketing platform, SMS service, or a custom-built tool, you can easily connect it with WowOptin using a webhook URL.
How Webhooks Work in WowOptin
Here’s a simple way to look at it:
Visitor submits a form → WowOptin grabs the info → Instantly sends it to your chosen tool.
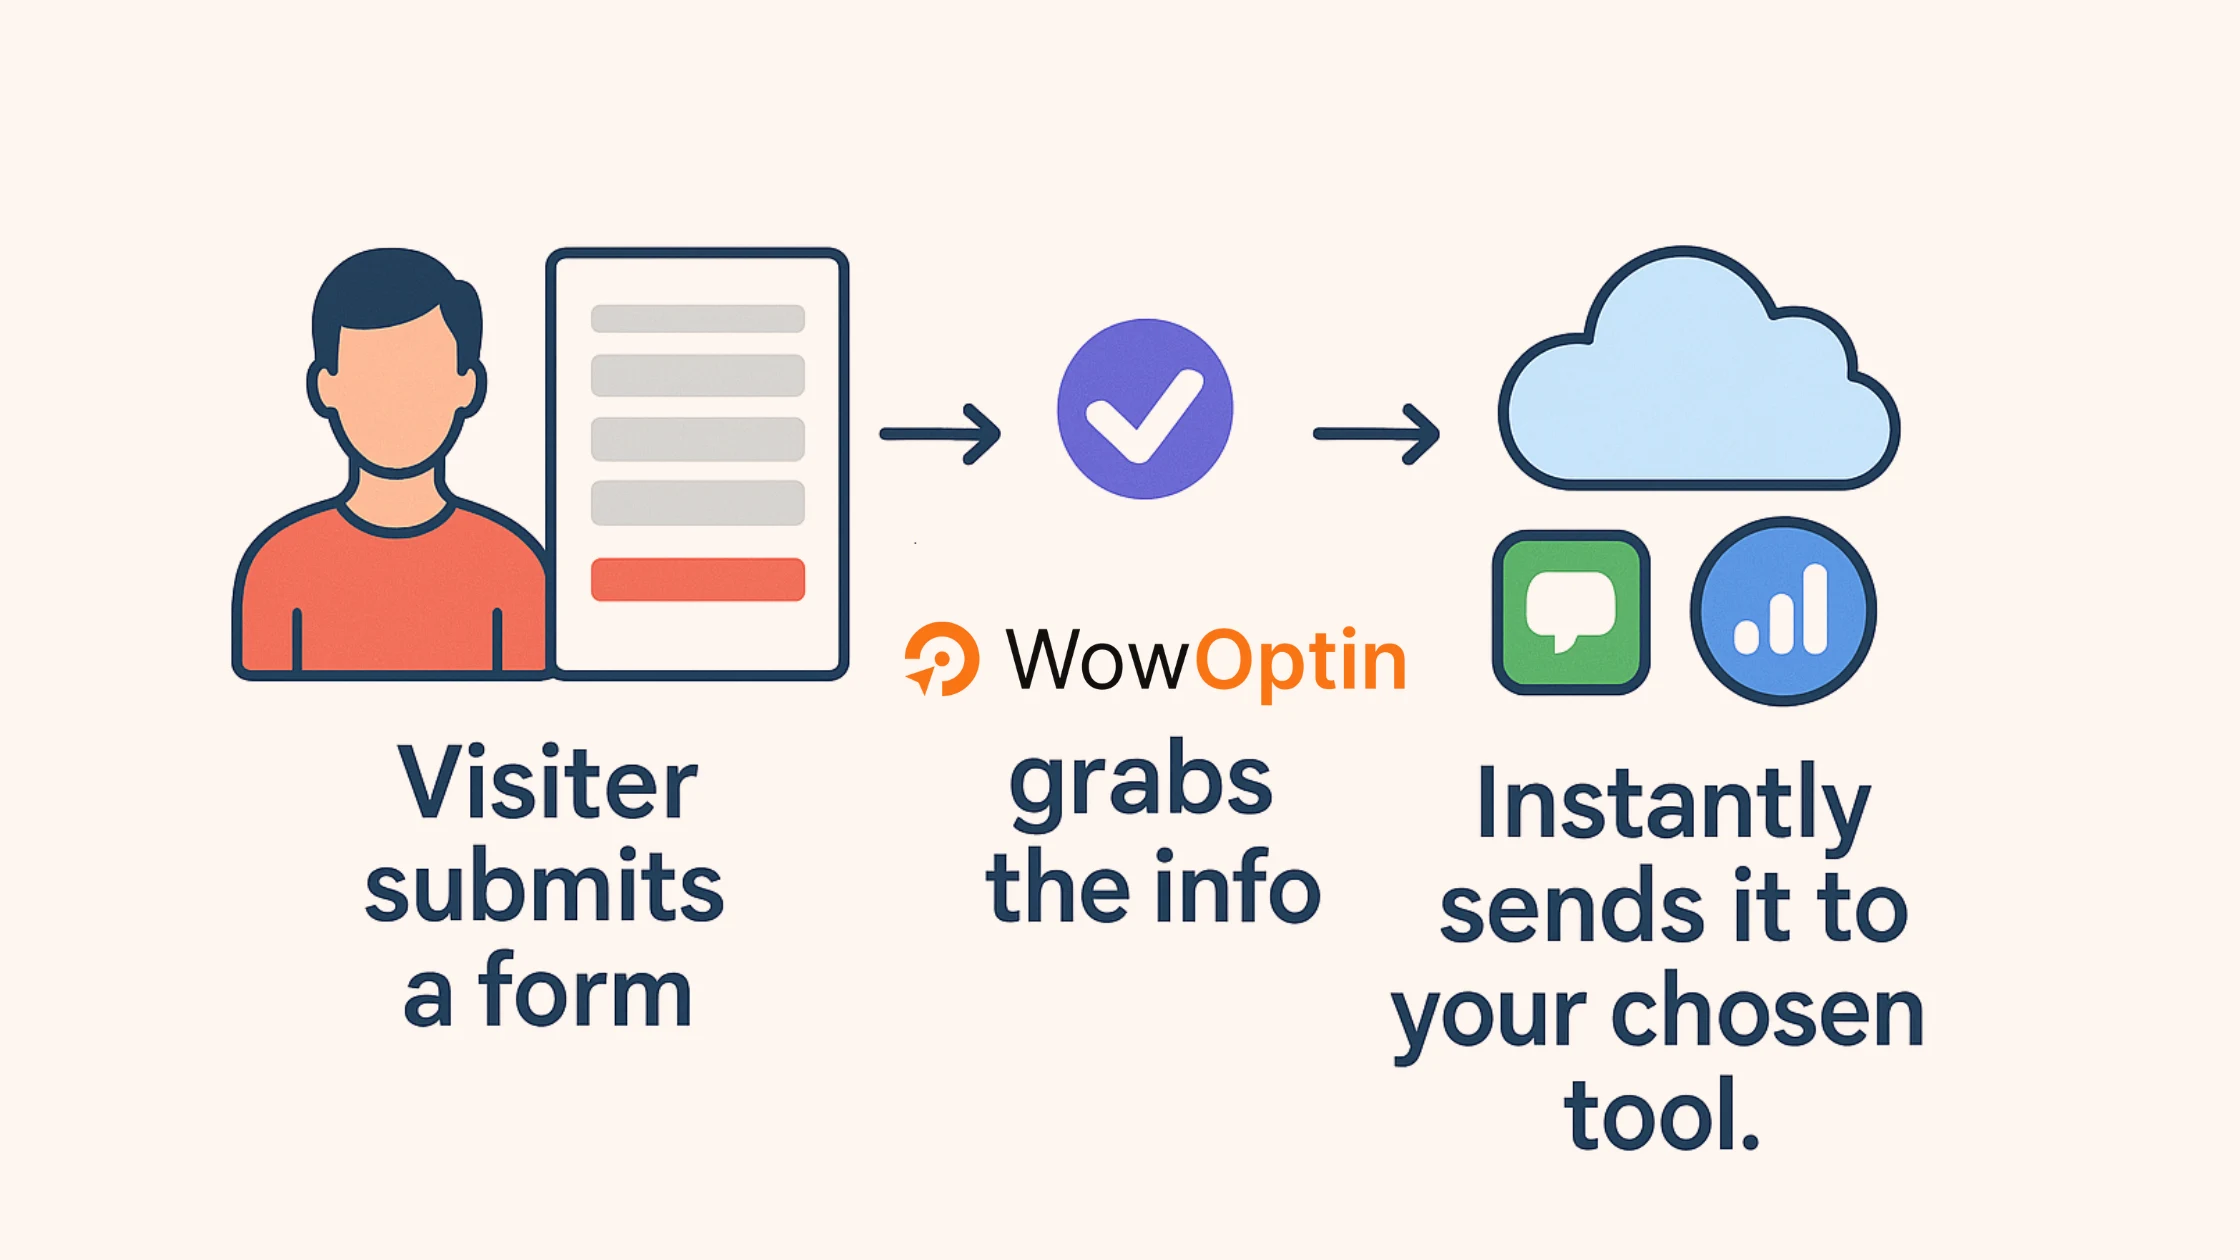
As soon as someone fills out your form, WowOptin’s Webhook feature steps in and sends the contact details (name, email, or phone number) directly to wherever you manage those contacts.
It’s fast, automatic, and keeps your workflow moving without interruptions.
How to Connect Webhooks to WowOptin
To get started, first grab the Webhook URL from the tool you want to connect WowOptin with. Then just follow these simple steps:
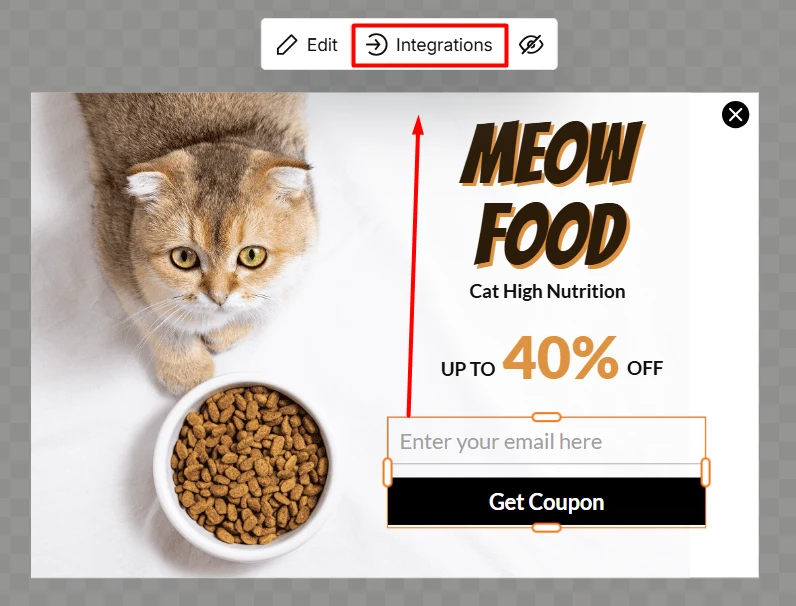
- In the WowOptin builder, click on the opt-in form button to select it.
- From the top sticky bar, click on Integrations (with the icon).
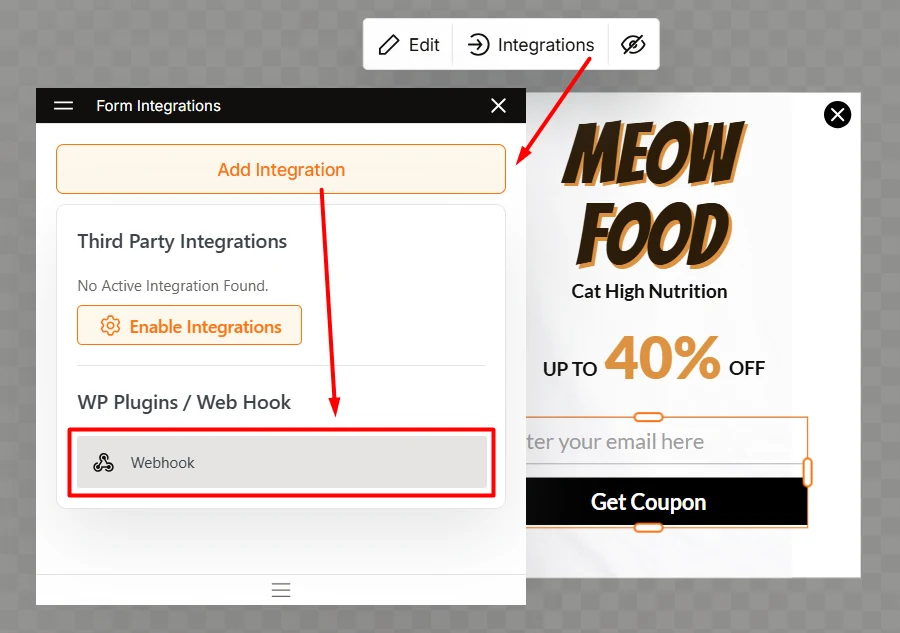
- Click Add Integration.
- From the dropdown, choose Webhook.
- Click the expand icon to open the settings.
- Paste the Webhook URL you got from your tool.
- Choose the request method: GET or POST. In most cases, POST is the one to go with, but follow your tool’s instructions here.
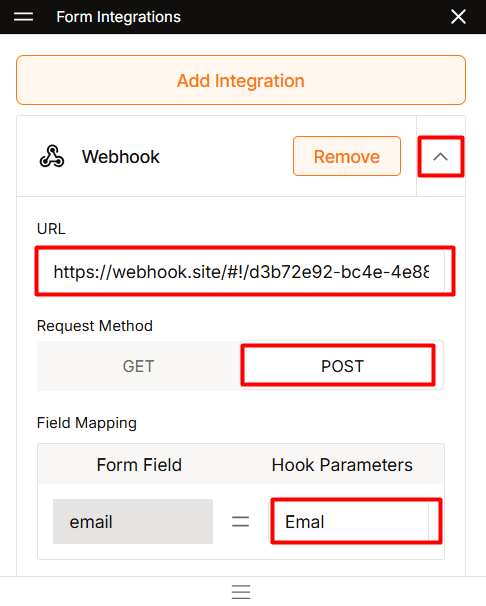
- Now map the fields by adding parameters. You can use names that match your tool’s requirements or ones that help you identify them easily later.
- Test the setup to make sure everything’s working properly.
✅ That’s it! If everything’s set up right, your users’ data will be sent to your preferred tool seamlessly.
Why Use Webhooks with WowOptin?
Send your leads exactly where you want, instantly and automatically.
Instant lead delivery: No need to export or import files. Your form data goes straight to your favorite tool the moment someone hits submit.
Connect with almost any tool: If your tool supports webhooks, you can plug it into WowOptin. Simple as that.
Built for automation: Once it’s set up, everything runs on autopilot. You won’t have to touch a thing.
WowOptin gives you the flexibility to choose where your data goes – no middleman, no delays. Just real-time, automated lead sharing that saves time and keeps your workflow simple.
FAQs about Webhook Integration in WowOptin
Here’s more clarity on how Webhooks work with WowOptin, what’s possible, and how you can make the most of it:
01 – Can I Connect Encharge with WowOptin using Webhooks?
Yes, you can! WowOptin supports Webhook integrations, which means you can send leads collected through your opt-in forms directly to Encharge – even without a native integration.
Follow these simple steps to make it work:
- Log in to your Encharge account.
- Go to the Flows tab and Add Flow.
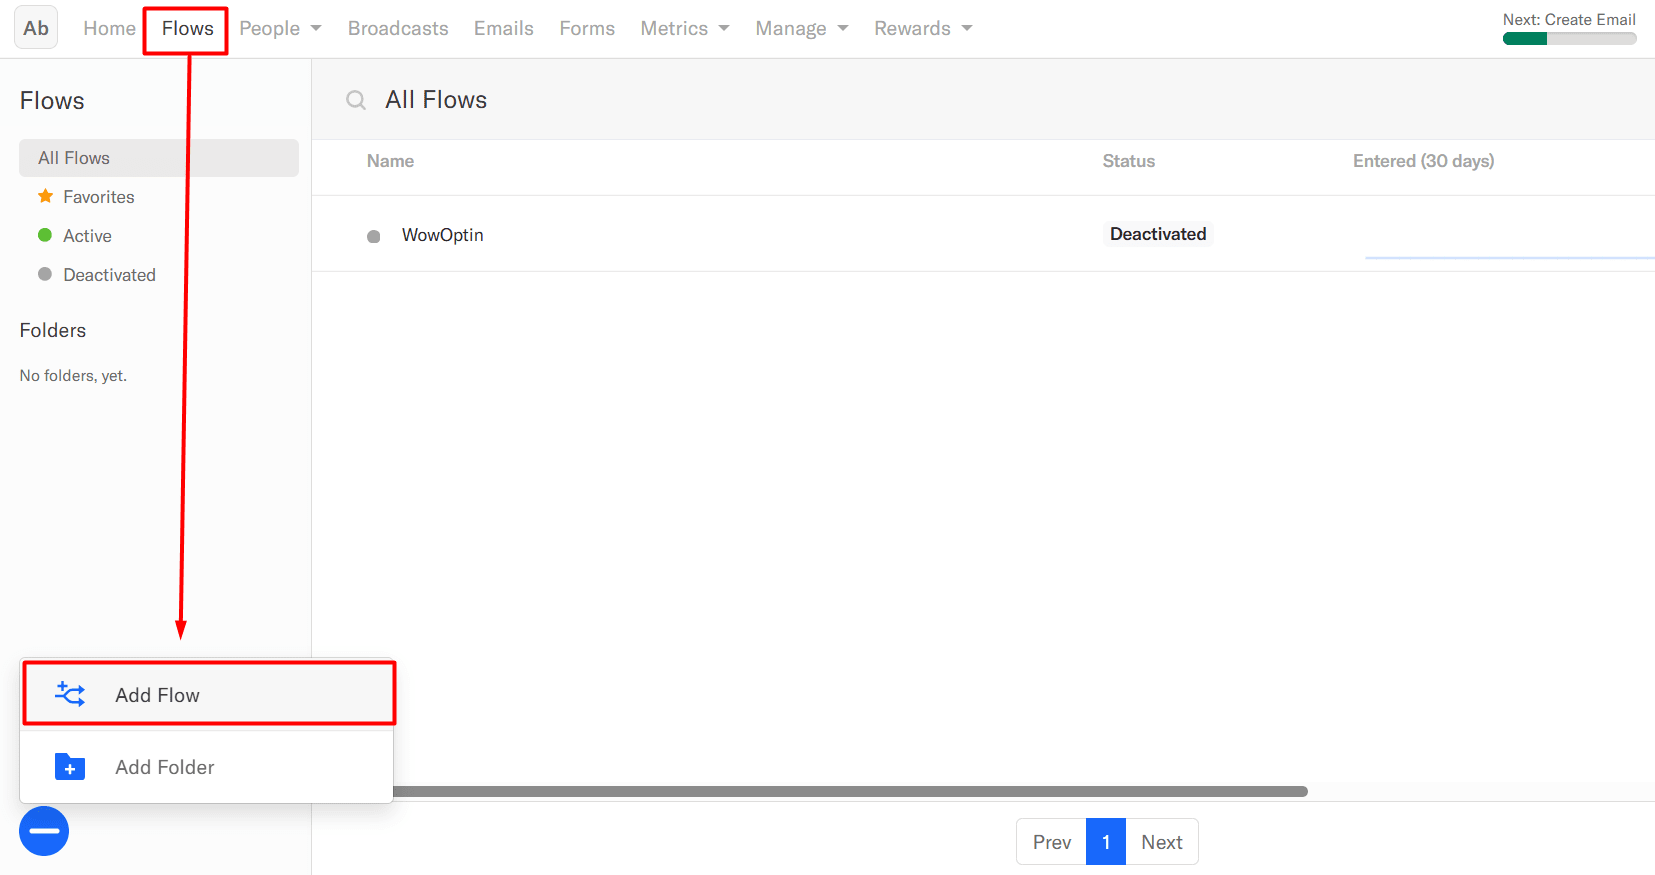
- Start blank to create flow from scratch
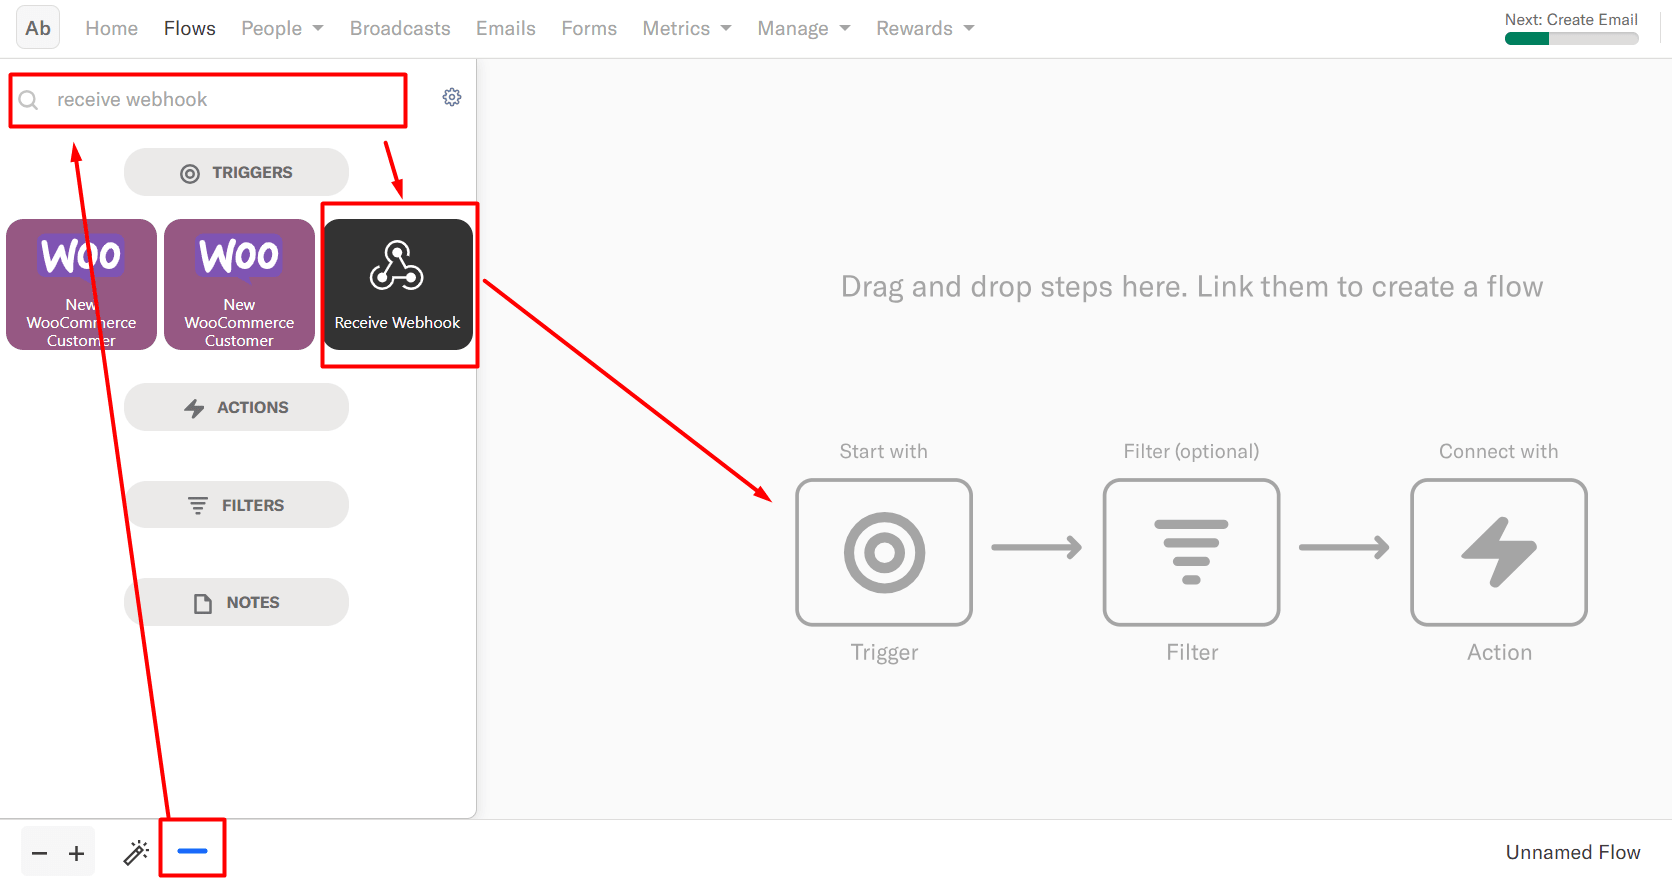
- On the sidebar, search for recieve webhook.
- Drag Receive Webhook node to the Trigger block.
- Click on it, and copy the Webhook URL from the bar.
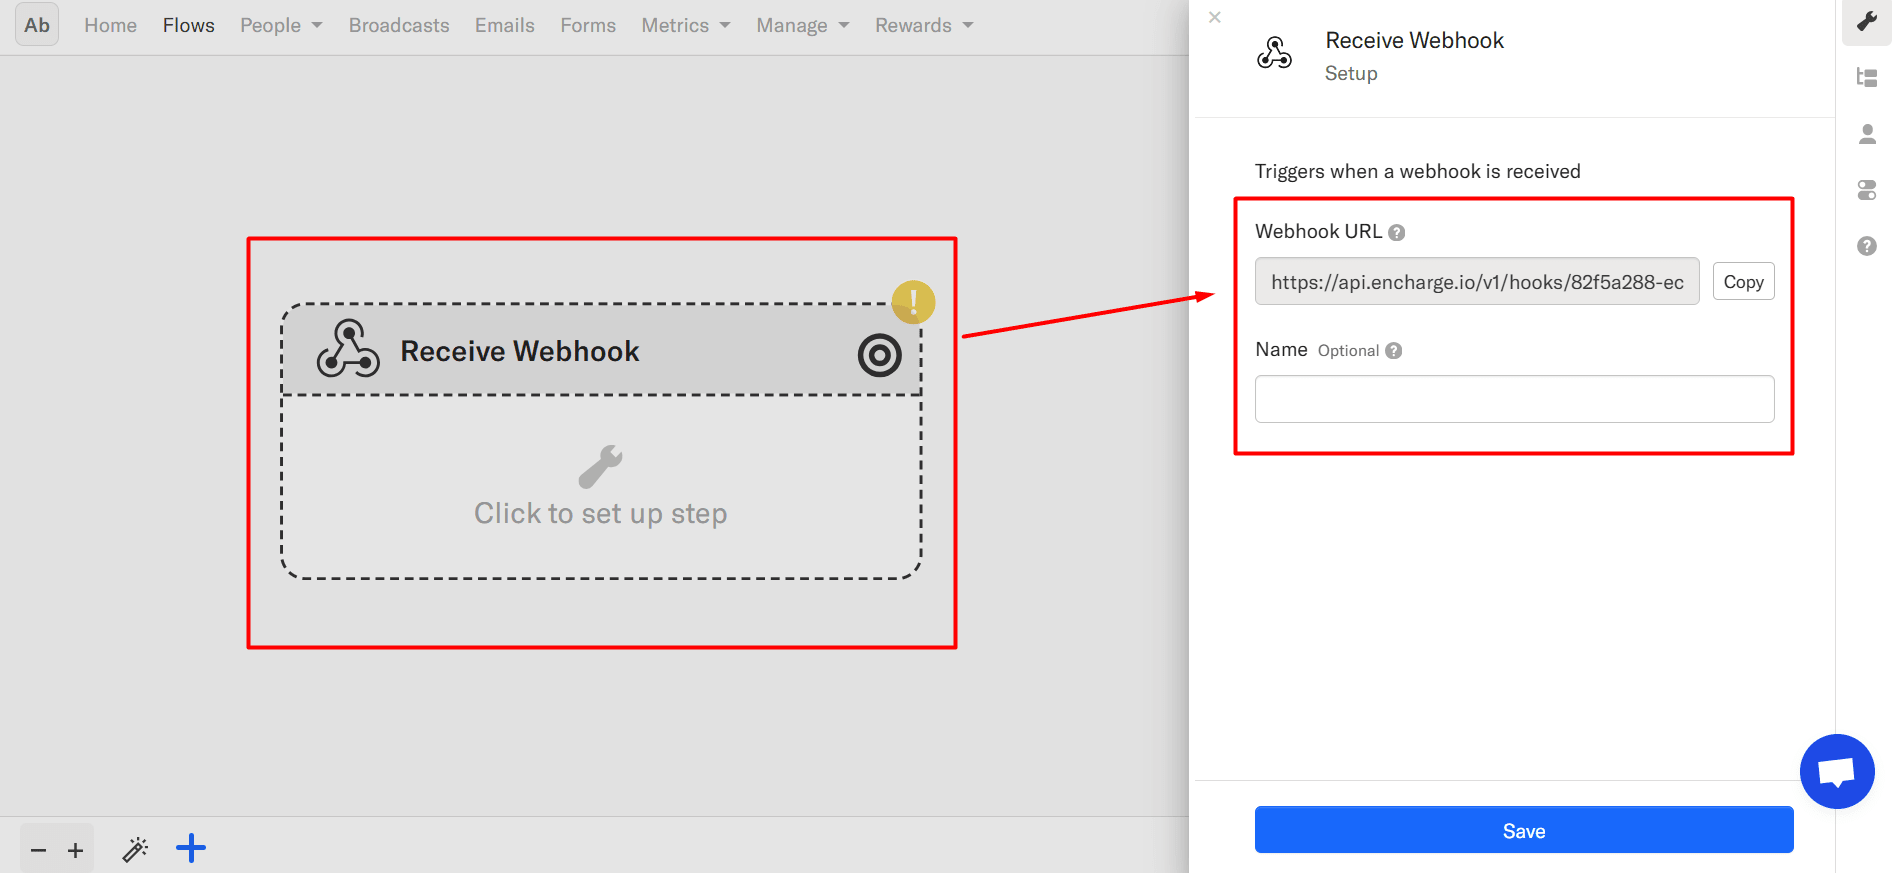
- Click on your WowOptin form and go to the Integrations field.
- Select Webhook as your connection method.
- Paste the copied Webhook URL into the provided field.
- Make sure the request method is POST.
- Map the form fields properly:
email(required),firstName,lastName, or any other custom fields (optional) - Publish the campaign and submit the form once.
- Go back to Encharge Flow and navigate to the “Map Field” tab.
- If everything is working, Encharge will detect the data.
- Map the sample data by clicking continue.
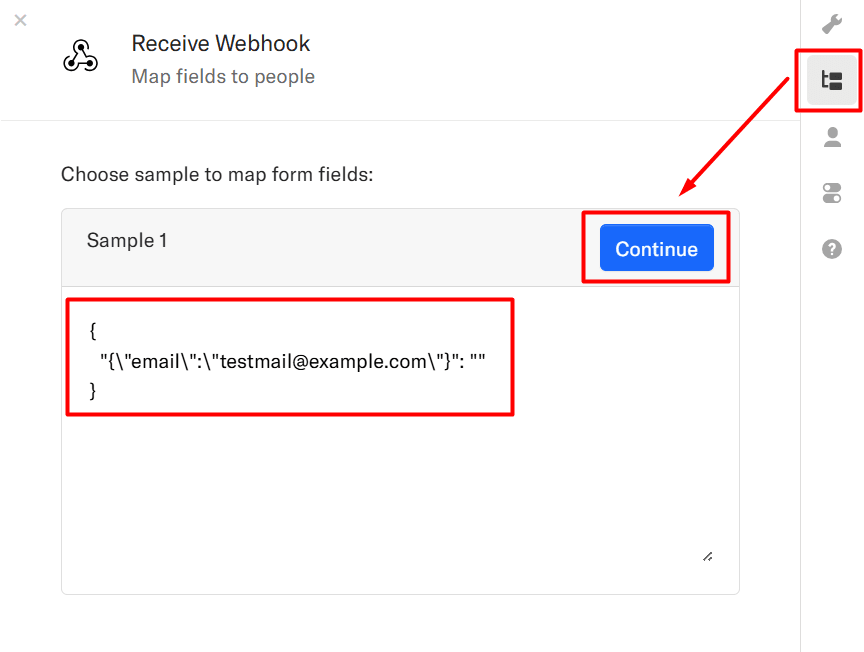
- Now you have the data to finish setting up the rest of your Flow.
That’s it!
02 – Can I Connect ActiveCampaign with WowOptin using Webhooks?
ActiveCampaign doesn’t accept direct incoming webhooks, so you can’t send your WowOptin form data to it using a webhook URL alone.
But there’s a free workaround.
You can use automation tools like Zapier, Make, Pabbly Connect, or n8n to connect your WowOptin popup form to ActiveCampaign. These tools act as a bridge to pass the data through.
How to Do It with n8n
⚠️ You must have a basic understanding of n8n to do it properly.
- Create a new workflow in your n8n dashboard.
- Add a Webhook node as the trigger.
- Set the HTTP method to GET.
- Copy the Production URL for use with your WowOptin form.
- Add an ActiveCampaign node next.
- Set up your credentials using your API URL and API Key (you’ll find these in ActiveCampaign under Settings → Developer).
- In the ActiveCampaign node:
- Set Resource to Contact.
- Set Operation to Create.
- Map the email field using the email data from the webhook.
- Activate and test your workflow.
- Submit a form from WowOptin and confirm that the contact is added to your ActiveCampaign list.
That’s it!